How to Fix a Leaking Faucet in Calgary: DIY Tips and Tricks
Fixing a dripping faucet isn’t as tough as it may seem. With some simple tools and bit of patience, you can become your own plumber. You start by recognizing the type of your faucet – whether it’s compression, cartridge, disk, or ball type; each comes with its own set of common leak issues. Now, think about that little drip-drip sound from the sink, isn’t it about time we silenced it for good?
To fix a leaking faucet in Calgary, you can start by turning off the water supply to the faucet, disassembling the handle and replacing the O-ring or cartridge, and then reassembling the faucet. If you’re uncertain about performing these steps, it’s best to seek professional plumbing assistance.
Identifying the Leaking Faucet
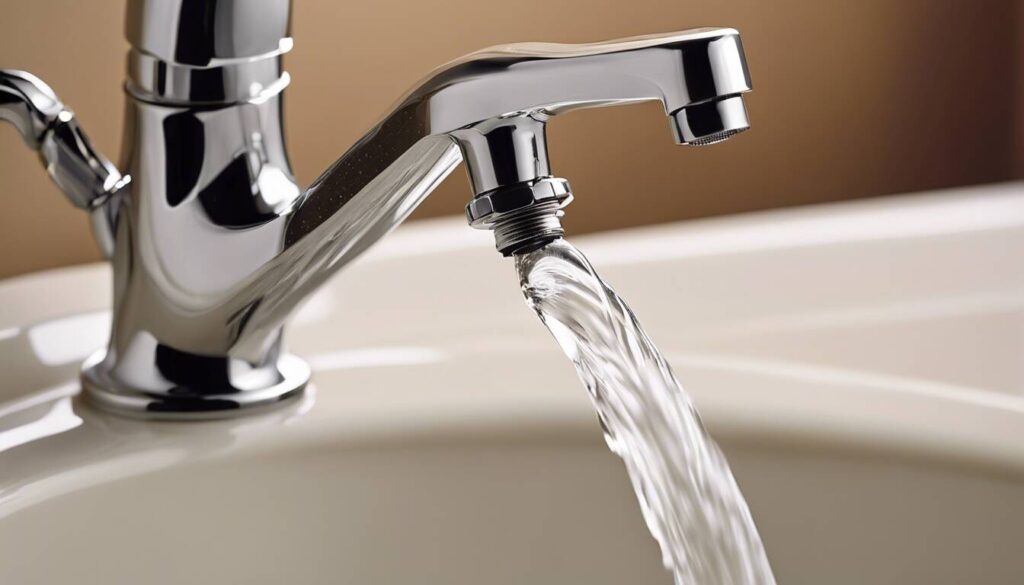
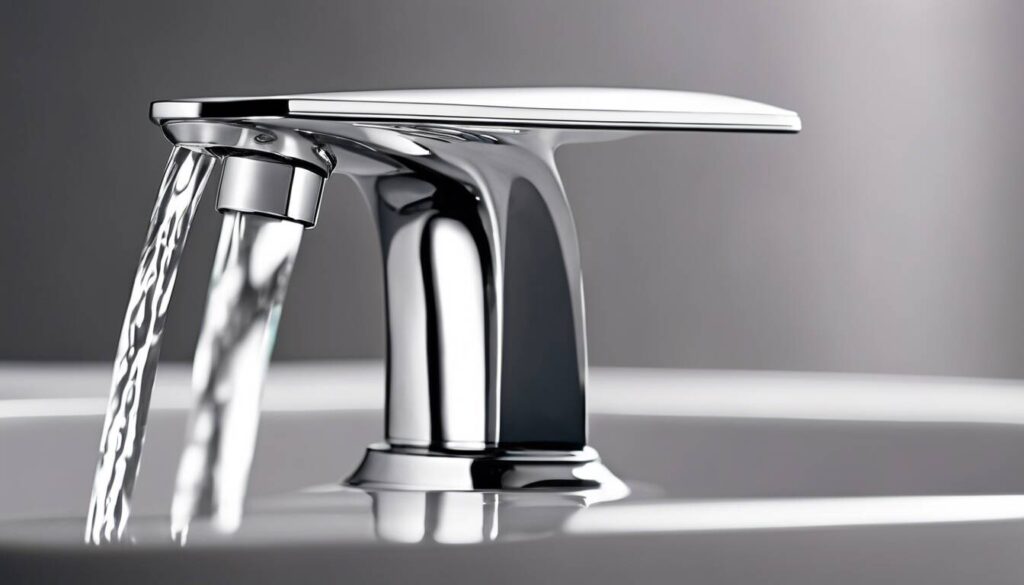
Imagine this: You’re sitting in your kitchen and you hear a constant drip, annoyingly pinging every few seconds. It’s like a tiny alarm bell, signifying that something’s not right. Or perhaps you’ve noticed a little puddle forming around the base of your faucet. Before you jump to fix it, it’s vital to understand what type of faucet is causing the trouble.
Typically, there are four common types of faucets: compression, cartridge, disk, and ball faucets. Each type has its own distinct features, which can directly impact the cause of the leak.
The compression faucet is one of the oldest and more traditional styles, recognizable by separate hot and cold-water handles. If you find a leak in a compression faucet, it’s often due to worn-out rubber washers. A dripping cartridge faucet usually indicates an issue with the O-ring or valve seat, which might be worn out and need replacing.
On the other hand, disk and ball faucets tend to have fewer issues since their designs involve fewer parts that can wear down. However, a leaking disk faucet typically points to problems with inlet and outlet seals or the neoprene seals. Ball faucets, known for their single handle controlling both hot and cold water, can experience leaks due to worn-out seals or O-rings.
Each type requires its own unique approach when it comes to repairs. Understanding the characteristics and potential causes of leaks specific to your type of faucet is crucial for successfully addressing the issue.
Now, let’s talk about how you can identify if your faucet is leaking in the first place.
Visible drips are often the clearest indication of a leak. However, sometimes it can be more subtle—water pooling around the base or dampness in the cabinet under the sink may hint at an underlying issue.
It’s essential to inspect your faucet closely before determining what repair method will be most effective for resolving the problem.
Identifying a leak in your faucet is just the first step towards effectively resolving the issue. Once you know what type of faucet you have and what might be causing the leak, you’ll be better equipped to tackle it head-on.
Step-by-Step Guide to Fixing a Leaking Faucet
Fixing a leaking faucet might sound like a daunting task, but it can actually be quite manageable with the right approach. Whether you’re dealing with a steady drip or a continuous flow of water, addressing the issue promptly can save you from costly water bills and prevent further damage to your plumbing fixtures.
Step 1: Turn Off Water Supply
The first step in fixing a leaking faucet is to cut off the water supply to avoid any messes while you work. Look under the sink for the shut-off valve and turn it clockwise to stop the water flow. This prevents any accidental splashes or spills and allows you to work without any unexpected surprises.
Step 2: Disassemble the Faucet
After turning off the water supply, it’s time to dismantle the faucet. Use a wrench and screwdriver to carefully take apart the different components of the faucet. While doing so, pay close attention to the position of each part as this will help you in reassembling everything correctly later on.
Step 3: Inspect Washers and O-Rings
Once you have disassembled the faucet, it’s crucial to inspect the washers, O-rings, and other components for signs of wear, tear, or mineral buildup. These small parts are often at the heart of a leaking faucet, and a close examination can help pinpoint the source of the problem.
Think of these components as the small but mighty soldiers battling against leaks. If they’re worn out or damaged, they won’t be able to hold off the leaky invasion.
Step 4: Replace Faulty Parts
If you notice damaged washers or O-rings during your inspection, it’s time to remove them and replace them with new ones. Ensure that the replacements fit properly and consider lubricating them with plumber’s grease before reassembling. This lubrication helps create a tight seal and reduces friction within the faucet.
Step 5: Reassemble and Test
Carefully reassemble all the components of the faucet in the reverse order of disassembly. Take your time to ensure that everything fits back snugly. Once reassembled, turn on the water supply and check for any leaks. If needed, make adjustments to achieve a watertight seal.
Whether you’re a seasoned DIY enthusiast or it’s your first time fixing a leaking faucet, following these steps meticulously can help restore your faucet’s functionality and put an end to those pesky leaks!
With your trusty toolkit in hand and newfound expertise in fixing leaky faucets, let’s now shift our focus toward understanding each part inside your faucet—the key to successful DIY faucet maintenance.
Inspecting Faucet Parts
When it comes to inspecting a leaking faucet, think of it like giving your faucet a check-up. By closely examining each part, you can identify where the problem lies and what needs fixing. The key parts to look at are the washers, O-rings, valve seats, and seals – all vital in ensuring your faucet functions properly.
For example, the washers create a watertight seal to prevent water from escaping when you turn off the faucet. Over time, they can wear out or become damaged, leading to leaks. Similarly, O-rings prevent leaks by sealing different parts of the faucet together. If these become loose or worn out, leaks can occur.
Valve seats and seals are equally crucial; if they become corroded or worn down, they won’t be able to maintain a tight closure, resulting in leaks from the base or handles of the faucet.
Inspecting these parts carefully can reveal any wear, corrosion, or damage causing the leak. This detailed examination often requires some disassembly of the faucet, but it’s worth it to pinpoint the exact source of the problem.
Imagine a dripping faucet like a puzzle – you need to inspect each piece carefully to find out where it’s gone wrong. If you don’t do that, it’s like having all the pieces on the table but not knowing where to place them!
Here’s a quick visual guide on what each part looks like and where they’re located:
| Part | Location On Faucet |
|---|---|
| Washers | Inside the compression faucet or under the cartridge in a cartridge-style faucet |
| O-rings | Positioned around the valves or cartridges |
| Valve seats | Inside the body of the faucet |
| Seals | Found throughout the interior of the faucet |
Understanding these parts and recognizing signs of wear or damage equips you with the knowledge needed to diagnose and fix your leaking faucet efficiently and effectively.
Replacing the Washer
Replacing the washer in a compression faucet is a crucial step in fixing leaks. Begin by turning off the water supply to the faucet to prevent any unwanted water flow during the repair. Cover or plug the drain to avoid losing small parts before you start disassembling the faucet.
Now, it’s time to remove the handle and other components to access the old washer. Depending on your faucet’s design, there may be a decorative cap or screw securing the handle. Use a screwdriver or an appropriate tool to carefully remove these components.
Pro tip: Lay down a towel or have a container ready to keep track of all the small parts. This helps prevent them from rolling away or getting lost.
Once you’ve safely removed the handle and other necessary parts, you’ll reach the stem assembly which houses the old washer. Carefully take out the stem assembly from the faucet body. It may require some gentle wiggling and maneuvering.
At this point, you’ll find the worn-out washer at the bottom of the stem assembly. Take it out and inspect its size and thickness as it’s important to install a new one of the same size and thickness to ensure a proper seal and prevent future leaks.
Now, it’s time for installation. Gently place the new washer in position at the bottom of the stem assembly, ensuring that it fits securely and aligns properly with its seating to establish a watertight seal when reassembled.
Be mindful not to over-tighten any parts as you reassemble your faucet, as this could lead to unnecessary stress on components.
Replacing a worn-out washer is a fundamental part of maintaining your compression faucets. By following these detailed steps, you can effectively address leaks and ensure your faucet functions smoothly once again.
Thread Sealing Tips
When it comes to fixing a leaking faucet, applying thread seal tape to the threads of the faucet’s components can make a significant difference. This thin, flexible tape is designed to help create a watertight seal, preventing leaks and maintaining the integrity of your faucet repair. However, it’s important not only to use the tape but also to apply it correctly.
The first crucial step is knowing the direction in which to wrap the thread seal tape. It might seem simple, but it’s a detail that can make all the difference. Wrapping the tape around the threads in a clockwise direction ensures a tight and secure seal. This process helps to prevent unraveling while tightening components during assembly, reducing the likelihood of future leaks.
Imagine it like this: when you’re turning a screw into something, you turn it clockwise, right? By applying the tape in the same direction, you’re essentially reinforcing that movement and keeping everything tightly sealed. It’s like wrapping a present – you want it to stay put until it’s ready to be unwrapped.
In addition to direction, ensuring a neat and even application of the tape is paramount. Avoid over-tightening or wrapping too much tape around the threads as this could lead to unnecessary strain and potential damage when reassembling the faucet components.
Think of it like spreading butter on toast – you want an even layer that covers the entire surface without clumping or excess gobs. Too much, and you’ll have issues; too little, and it won’t serve its purpose.
In essence, applying thread seal tape is a preventive measure that significantly contributes to the long-term efficacy of your faucet repair. It acts as a barrier against potential leakage, ensuring that your hard work in fixing the faucet doesn’t go down the drain due to poor sealing.
These vital tips on applying thread seal tape serve as a valuable addition to your DIY faucet repair toolkit, enhancing your ability to ensure a successful and durable fix for your leaking faucet.
How to Prevent Future Faucet Leaks
Preventing faucet leaks can save you both time and money in the long run. It’s all about routine care and catching small issues before they turn into big headaches.
Regular Maintenance
Regularly inspecting and maintaining your faucet components is key to preventing leaks. Cleaning is essential to remove debris and buildup that can impact the function of the faucet. Lubricating moving parts can also help keep everything running smoothly. Additionally, a thorough inspection of all faucet components ensures that any potential issues are identified early on and addressed promptly.
By maintaining these practices, you’ll give yourself the best chance of avoiding leaks and prolonging the lifespan of your fixtures. It’s like taking care of your car—it needs regular oil changes and tune-ups to keep it running smoothly for years to come.
Consider creating a simple schedule, say at the end of every season, to check and clean your faucets. This will allow you to stay ahead of any problems that may arise.
Addressing Issues Promptly
As with most things in life, addressing issues quickly helps prevent them from becoming major problems down the road. Even minor leaks should be addressed as soon as they’re noticed. Don’t dismiss a drip—it could be a sign of a bigger issue brewing beneath the surface.
Emphasize the importance of addressing even minor leaks promptly to prevent them from escalating into larger, more complex problems. This preventative approach can save users from more extensive and costly repairs in the long run.
If you notice a leak or any irregular behavior with your faucet, investigate it immediately. Ignoring it might lead to bigger trouble later on, which could result in more extensive repairs, additional expenses, and a lot more inconvenience.
By taking proactive measures and staying vigilant, you’ll be able to maintain your faucets in optimal condition for the long haul.
Following these preventive steps will not only save you from dealing with unexpected leaks but also help in extending the lifespan of your faucets and ensuring continued functionality for the foreseeable future.
For professional assistance with faucet repairs, trust our expert team at My Calgary Plumber. We work day and night, call or text us at 587-707-0606.


