Common Faucet Problems and DIY Solutions: Troubleshooting and Repair Guide
Many faucet issues, such as leaks or irregular water flow, are often signs of worn-out internal parts. Age and regular use can degrade components like washers, seals, or O-rings, leading to these problems. However, the good news is that you’re not alone and it’s not always as bad as it seems. A little knowledge about faucets could allow you to troubleshoot and even fix some of these problems yourself – helping save on water and protecting your sink area from damage. Now let’s dive in and discover how to identify these issues.
One common faucet problem is a leaking faucet, which can often be resolved by replacing the worn-out O-ring or tightening the valve. Another common issue is low water pressure, which may be caused by mineral buildup in the aerator that can be cleaned by soaking it in vinegar. Always remember to turn off the water supply before attempting any repairs.

Identifying Common Faucet Problems
When it comes to our faucets, it’s often easy to spot the symptoms of a problem – a leaky faucet, low water pressure, or strange noises coming from the tap. But what’s more challenging is identifying the exact issue causing these symptoms.
For instance, if you notice water pooling around the base of your faucet every time you use it, it could be a sign of worn-out or damaged seals. On the other hand, irregular water flow may indicate a clog in the aerator or a problem with the water supply. Those unusual noises? They could be caused by a loose washer or an internal pipe blockage.
Understanding these signs and linking them to specific faucet problems is key to effective troubleshooting and repair. Now, let’s explore some common faucet issues and how we can identify them:
Leaky Faucets
A leaky faucet is one of the most common plumbing problems homeowners face. It’s not only frustrating to listen to the constant drip-drip, but it also leads to wastage of water and can significantly raise your water bill. The most common cause of a leaky faucet is a worn-out or damaged rubber washer. This small yet crucial part is responsible for sealing the flow of water when the faucet is turned off. If you notice water pooling around the base of your faucet or a constant drip, it’s likely that the washer needs replacing.
Low Water Pressure
When you turn on your faucet and barely any water comes out, you’re dealing with low water pressure. This issue can be caused by several factors, such as mineral buildup in the aerator, sediment accumulation in pipes, or issues with the municipal water supply. If your faucet has low water pressure, start by checking if other faucets in your home are experiencing the same problem. If they are, the issue might be related to your main water line.
Pro Tip: A good way to identify if mineral buildup is causing low water pressure is to unscrew and inspect your faucet’s aerator for any visible debris or deposits.
Strange Noises
If you hear unusual sounds like rattling or clanking when using your faucet, there might be an issue within the pipes or different parts of the faucet mechanism. These sounds could stem from loose washers, corroded interior components, or even air bubbles trapped in the pipes. Identifying where exactly the noise is coming from can provide clues about what might be malfunctioning inside the faucet.
Recognizing these specific signs allows homeowners to pinpoint issues accurately and take informed steps towards resolving them effectively. Taking note of these insights will make troubleshooting and repairs much more manageable and targeted.
In this comprehensive guide to faucet troubleshooting and repair, we’ve identified common problems and their telltale signs. Now, let’s shift our focus to get an overview of leaky and dripping faucets.
Overview of Leaky and Dripping Faucets
Leaky and dripping faucets can be incredibly frustrating. That rhythmic drip, drip, drip sound can keep you up at night, drive up your water bill, and even lead to damage if left unaddressed. The most common cause of these maddening leaks lies within the faucet assembly itself. Over time, the washers, seals, or O-rings inside the assembly wear out from regular use, leading to small but impactful water leaks.
When we stop to think about it, conserving water is paramount because as fresh water becomes scarcer around the world, we’re all responsible for doing our part. That tiny leak might not seem like much, but it adds up over time. By fixing it promptly, you’re not only reducing your environmental footprint but also saving money on your water bill.
Furthermore, tackling leaky faucets promptly can also prevent potential damage to the surrounding fixtures and surfaces. Water has a way of finding its way into places it shouldn’t be. If left unchecked for too long, that continuous drip could seep into your walls or cabinetry, causing costly damage.
Imagine searching for the source of a persistent musty smell in your home only to discover that it’s due to hidden water damage caused by a seemingly inconsequential faucet leak. Catching and addressing the problem early saves you from potential headaches and pricey repairs down the line.
It’s like putting off fixing a small crack in the windshield of your car; it may seem insignificant at first, but as time goes by, that crack spreads and compromises the integrity of the entire windshield until one day it shatters. The same principle applies to a leaky faucet—the damage may start small but can quickly develop into a larger issue.
Understanding the significance of leaky and dripping faucets sets the stage for effectively addressing this common problem in household plumbing. Let’s move on to exploring practical DIY solutions for this issue.
With a deeper understanding of the issues that plague household faucets, we can now shift our focus to identifying and resolving specific faulty parts that contribute to these problems.
Recognizing Corroded and Faulty Parts

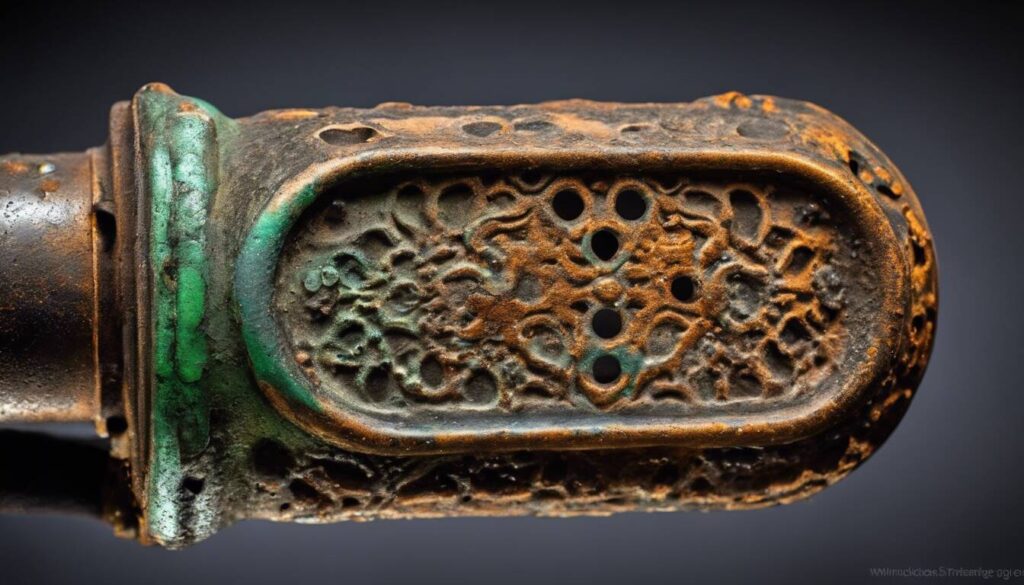
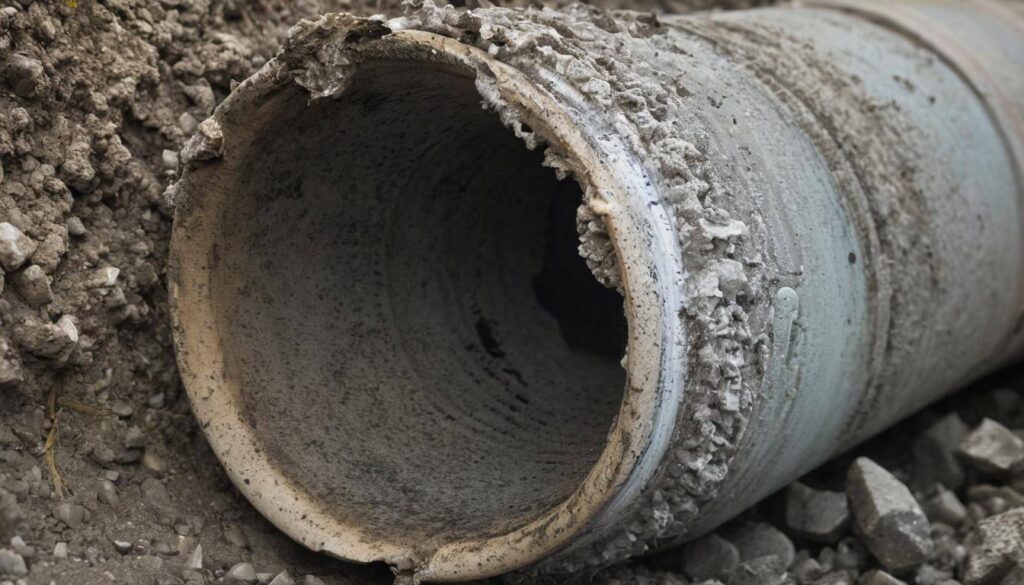
Corrosion in faucets may not always be visible, but it can lead to several problems such as reduced water pressure, discolored water, or even complete faucet failure. It’s time to roll up your sleeves and inspect those faucets closely when you notice these signs.
One common area where corrosion occurs is on the valve seats. These are the connecting points between the faucet and the spout. Over time, they can become worn down, leading to leaks and a decrease in water pressure. Discolored water is a clear indicator that there’s something off in the faucet. The presence of rust particles or colored water could mean that the internal components are heavily corroded and may need to be replaced.
Moving on to aerators, these small yet vital parts of a faucet often fall victim to corrosion. Aerators mix air with the flowing water, giving you a splash-free stream while saving on water usage. Yet, when they become corroded, they can cause irregular or sputtering water flow. This is a clear sign of mineral build-up or corrosion within the aerator and may call for thorough cleaning or replacement.
Did you know that even the handles of your faucet are susceptible to corrosion? If left unattended, corroded handles can make turning them much harder than usual due to the buildup of rust and mineral deposits.
In addition to corrosion issues, faulty parts can also lead to various performance issues and leaks. Damaged cartridges within the faucet can result in leaky faucets or irregular water flow. Meanwhile, worn-out gaskets can cause leaks at the base of the faucet. Identifying these parts as culprits for any faucet malfunctions can save you from stressing over leaks and low water pressure.
So, when you start noticing discolored water, a decrease in water pressure, or any other performance issues with your faucets, give them a closer look. You might just catch an issue early and save yourself from more significant repairs down the road.
Understanding the underlying problems with faucets is crucial for efficient troubleshooting. Now, let’s move on to explore effective guides for basic faucet repairs so that you can troubleshoot with confidence.
Guides to Basic Faucet Repairs
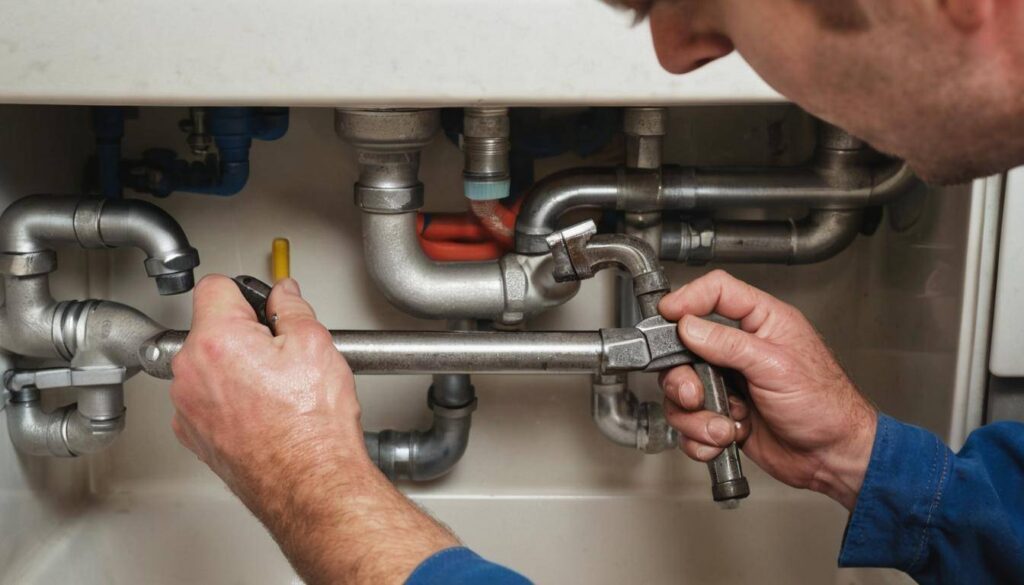
When it comes to faucets, some of the most common problems are leaky faucets, irregular water flow, and loose handles. These issues might seem intimidating, but the good news is that many of them can be resolved through simple DIY procedures. Let’s look at some basic faucet repairs that can help you troubleshoot and fix these common problems without needing to call a plumber.
Replacing Washers and O-Rings
Do you have a dripping faucet that seems to drive you crazy? The culprit might be worn-out washers or O-rings causing the leaks. The good part—replacing these parts doesn’t require advanced plumbing skills. It’s relatively straightforward and cost-effective.
When washers and O-rings wear out, they can’t form a tight seal, resulting in water leaking from the spout. However, by replacing these small components located inside the faucet handle with new ones, you can typically resolve the dripping issue. This repair often brings immediate relief from the constant plink, plink, plink of a dripping faucet, saving water and preventing potential water damage.
Cleaning Aerator Screens
Mineral buildup in the aerator—a small screen located at the end of the faucet spout—can disrupt water flow and even cause splashing. If you’re noticing irregular water pressure or erratic water patterns, there’s a good chance your aerator screen needs attention.
By removing the aerator and cleaning it thoroughly or replacing it if needed, you can improve the water pressure and prevent water from splashing all over your sink area. This simple maintenance task not only enhances the functionality of your faucet but also saves you from unnecessary frustration during everyday use.
Tightening Loose Parts
Loose nuts or handles can contribute to leaks and reduced performance of your faucet. Ensuring all parts are properly tightened is an easy fix that may help alleviate these issues.
When various components or fittings work loose over time, it can compromise the integrity of your faucet and lead to leaks or diminished performance. By taking the time to check for loose nuts, handles, or other parts and tightening them appropriately, you can address minor issues before they escalate into more complex problems.
Armed with these essential insights into simple faucet repairs, you’ll be better equipped to identify and address common faucet issues before they become major headaches. These DIY solutions not only save you money but also empower you to maintain your faucets effectively.
Preventing Common Faucet Problems
Regular maintenance is akin to taking care of your car; it keeps everything running smoothly and prevents costly repairs down the line. Similarly, with your faucets, a few simple tasks can keep them in top-notch condition and stave off most common problems.
Let’s start with cleaning aerators, those little screens on the end of your faucets. Over time, sediment and mineral deposits can build up in them, blocking the flow of water and causing low water pressure. To ensure water continues to flow freely and efficiently:
- Unscrew the aerator from the end of the faucet.
- Soak it in vinegar for a few hours to dissolve the debris.
- Use a small brush or toothbrush to scrub away any remaining particles.
Taking these steps every few months will maintain optimal water flow.
Another crucial step in preventing common faucet problems is checking for leaks. Leaky faucets not only waste water but also indicate underlying issues that could worsen if left unattended.
The first thing to do is check all the faucets in your home for any leaks, then inspect the condition of the seals and gaskets. If you notice any signs of wear or damage, replace them promptly to prevent bigger leaks. Additionally, addressing corrosion at early stages is critical for preventing serious faucet problems as it can cause leaks and clogs. Keep an eye out for any signs of rust or deterioration and take action immediately.
Consider this scenario: You notice a small sign of rust around your faucet handle. Rather than ignoring it, you clean it off and apply a protective sealant to prevent further corrosion. This simple action can save you from having to deal with a major repair down the road.
Lastly, educating users on proper usage and care of faucets can extend their lifespan and reduce the occurrence of issues. Teach everyone in your household about gentle handling and proper care practices for faucets:
- Encourage them not to force or overtighten handles.
- Remind them not to use excessive force when turning faucets on or off.
- Instruct them on how to turn off the water supply during vacations or extended periods of non-use to prevent pressure buildup.
By integrating these preventative measures into your routine, you’re setting yourself up for a smoother experience with fewer faucet-related hassles in the long run.
Amidst the world of possible faucet pitfalls, understanding how to address specific issues effectively can make a pivotal difference. Now, let’s embark on a comprehensive journey delving into step-by-step solutions for repairing that pesky leaky faucet.
Step-by-step Repairing a Leaky Faucet
Whether it’s the constant drip or the squeaky handle, a leaky faucet can be quite annoying. But before calling a professional, remember that you might be able to tackle this on your own. Let’s walk through the typical stages involved in fixing a leaky faucet so you can regain peace and quiet in your kitchen or bathroom.
Step 1: Gather Necessary Tools
Before doing anything else, ensure you have all the necessary tools and replacement parts ready. Common items you’ll need include pliers, screwdrivers, replacement washers, O-rings, and perhaps even a flashlight for better visibility if the area is poorly lit.
Make sure to turn off the water supply to the faucet before you start working on it. This is crucial as it prevents any accidental water spillage during the repair process. Locate the shutoff valve under the sink and turn it clockwise to stop the water flow to the faucet. Without turning off the water, you risk getting soaked and causing potential water damage during your repairs.
Step 2: Shut Off Water Supply
Once the water supply is turned off, open the faucet to relieve any built-up pressure and drain any remaining water in the lines. This provides a safer work environment and reduces the risk of unexpected water bursts while working.
Step 3: Disassemble the Faucet
Carefully disassemble the faucet to access its internal components by removing the cap on top of the handle using a screwdriver. This will expose a screw that holds the handle in place, allowing you to pull off the handle. Don’t forget to keep track of the order in which parts are removed as this will guide you during reassembly.
Step 4: Inspect and Replace Components
Examine each component for signs of wear and tear, corrosion, or any visible damage. Look out for mineral buildup as well, which could be causing the leak. If you notice any faulty parts, replace them with new ones according to their specific function within the faucet assembly.
Step 5: Reassemble and Test
Once replacements have been made and everything has been inspected thoroughly, carefully reassemble the faucet in reverse order from disassembly. As an extra precaution, lubricate all moving parts before putting everything back together. Turn on the water supply slowly and check for any leaks. If leaks persist, make necessary adjustments until you achieve proper functionality.
Armed with these steps, you now have a clear roadmap to tackling that troublesome leaky faucet at home with confidence. By following these methods meticulously, you’ll find yourself saving both time and money while avoiding unnecessary hassles by fixing it yourself.
To get professional assistance with repairing your faucet issues, visit our faucet repair services.


