Frozen Pipe Emergency: What to Do If Your Pipe Is Frozen But Hasn’t Burst Yet
The first thing to remember when dealing with a frozen pipe that hasn’t burst is to avoid any methods that may lead to potential danger. Using open flames like blowtorches or propane heaters not only poses a fire risk, but can also cause further damage to the pipe and its surroundings. It’s crucial for your safety to rule out the use of electrical appliances near the affected area as well, or else you might find yourself dealing with unnecessary electrical accidents. An unexpected twist in this situation – even though your pipe is frozen, it doesn’t mean it’ll automatically burst. With careful attention and right steps, you can smoothly navigate this issue. Now let’s talk about where to start while dealing with the frosty troublemaker.
If you suspect a pipe is frozen but has not burst, you should first locate the frozen area and then apply gentle heat using a hair dryer, space heater, or towels soaked in hot water. Open the affected faucet to allow the ice to melt and relieve pressure. However, if you’re unsure of what to do or feel uncomfortable, it’s best to contact a professional plumber for assistance.
What Not to Do When a Pipe Is Frozen
One of the first things that might come to mind when dealing with a frozen pipe is the idea of using an open flame, such as a blowtorch, to thaw it out. It might seem logical, but it’s actually very dangerous. The intense heat from an open flame can easily lead to fire hazards, especially when near flammable materials like insulation or wood. Additionally, it can potentially harm the pipe or other nearby surroundings, escalating the situation from bad to worse.
Expanding on this idea, using an open flame also poses the risk of releasing toxic chemicals from certain types of piping materials when they’re heated. These fumes are harmful when inhaled and can pose health risks to you and your household, so it’s vital to avoid using blowtorches or any open flames near frozen pipes.
Imagine trying to thaw out a pipe near wooden beams or shared walls—the risk of starting a fire or causing extensive damage should be enough reason to steer clear of using open flames around frozen pipes.
Another mistake to avoid is using electrical appliances near the affected area. Sure, it might be tempting just to plug in a hairdryer or space heater for a quick fix, but this can lead to unintended consequences such as electrical accidents or short circuits.
To put it in perspective: when water meets electricity, it creates a dangerous mix that can lead to electric shocks or even start a fire. So, while it may seem like a convenient solution at the time, it’s not worth risking your safety and property for a temporary fix.
As tempting as these quick solutions might seem during a stressful situation, avoiding these dangerous actions will help prevent further complications and keep you safe while you address the frozen pipe issue.
Moving forward with caution and understanding potential risks sets the stage for effectively resolving the problem at hand. Next, let’s delve into the essential steps for locating the frozen pipe and initiating the thawing process.
Locating the Frozen Pipe
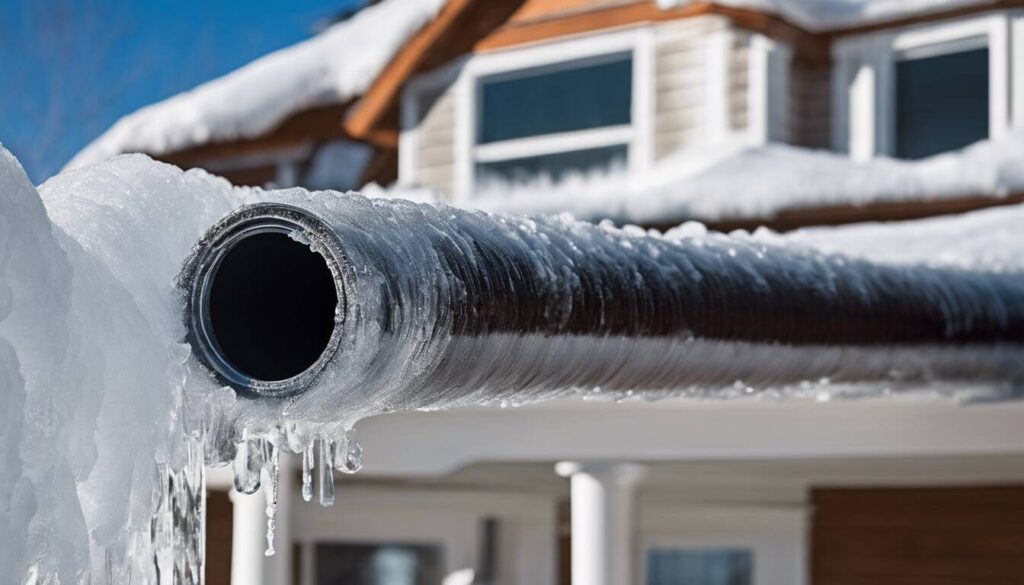
When facing a frozen pipe situation, the initial step is to visually inspect the exposed pipes in areas vulnerable to freezing, such as basements, crawl spaces, and attics. It’s crucial to thoroughly and systematically examine each pipe for signs of frost or condensation, as these are clear indicators of potential freezing.
If you notice any frosting, condensation, swelling, or bulging on a pipe, then that’s a clear sign of where the freezing has occurred – a visual cue directing your efforts towards thawing out that specific area.
For example, imagine walking through your basement with a flashlight. As you inspect each pipe closely, you notice a particular section covered in frost while the rest of the pipe appears normal. This distinct visual cue will direct your efforts towards thawing out that specific area.
These visual inspections and observations are critical for swiftly identifying the problem areas, preventing further damage and mitigating potential bursting, saving you from extensive repairs.
Understanding where to look for signs of frost and condensation on exposed pipes will guide you toward uncovering the exact location of a frozen section, enabling you to take prompt action to thaw it out before it leads to more severe issues.
Carefully Applying Heat to the Frozen Pipe
Now that the frozen pipe has been located, it’s crucial to be cautious when applying heat to thaw it. The objective is to gradually warm up the pipe without causing any damage. Here are a couple of effective methods for achieving this.
Using a Hair Dryer
One approach is to use a hair dryer set to a low heat setting. Direct the hot airflow at the affected area and move the dryer back and forth along the pipe. This allows for even distribution of warmth, helping to thaw the ice inside without inducing a sudden change in temperature that could lead to expansion and potential pipe damage or bursting. The key here is patience – rushing it is not advisable.
Electric Heating Pad or Towels
Another method involves wrapping the frozen pipe with an electric heating pad or towels soaked in hot water. This provides a consistent source of heat that will gradually thaw the ice within the pipe. It’s important to avoid using anything excessively hot or open flame-related near pipes, as this can result in unintended accidents.
These methods aim at gently and steadily thawing the pipe without causing any further issues. When dealing with freezing pipes, care and patience are your best friends.
Quick Tip: Never use a blowtorch, kerosene or propane heater, charcoal stove, or any other kind of open flame device to attempt to thaw a pipe. This can cause severe damage and lead to dangerous situations.
With these gradual heating methods, you can effectively thaw the frozen pipe and prevent bursting due to sudden temperature changes, while reducing the risk of causing further damage during this critical process.
Ensuring Proper Insulation Around the Pipe
When it comes to preventing frozen pipes, insulation is your best friend. Pipes that are exposed in areas without heating, such as in a basement or crawl space, are the most vulnerable to freezing. You have two main options for insulating these exposed pipes: foam pipe insulation and heating tape.
Foam pipe insulation is like adding a warm, fuzzy jacket for your pipes. It helps maintain the temperature of the pipe, preventing it from reaching the freezing point during cold weather. The insulation sleeves come in different sizes, so be sure to measure your pipes before purchasing to ensure a snug fit.
On the other hand, heating tape provides a bit of extra warmth. It’s a special electrical strip that you wrap around the pipe and plug into an outlet. This tape keeps the pipe’s temperature just above freezing.
These insulation methods work together to keep your pipes warm all winter long, preventing any unwanted surprises when temperatures drop.
In addition to insulating the pipes directly, it’s also crucial to seal any gaps or cracks in the walls around the pipes. This eliminates drafts near the pipes and ensures that the warm air from inside your home can’t escape, further protecting the pipes from freezing.
To give you an idea of how sealing gaps can help, think of it like closing all the windows and doors in your house when it’s cold outside. You want to keep that warm air in and the cold air out. The same principle applies to your pipes—keep the warm air around them and the cold air away at all costs!
By adequately insulating exposed pipes with foam pipe insulation or heating tape, and sealing any gaps or cracks in the walls near the pipes, you’re taking proactive measures to protect your plumbing from freezing temperatures. These simple steps can save you a lot of time, money, and headaches in the long run.
The next critical step in safeguarding your home from plumbing disasters involves understanding how to shut off the main water supply in case of emergencies. This knowledge can be invaluable in preventing extensive water damage and potential flooding incidents.
Steps to Shut Off the Main Water Supply
When confronted with a frozen pipe emergency, understanding how to shut off the main water supply is imperative. This action is crucial in averting potential flooding and costly water damage should the frozen pipe burst. Acting quickly yet calmly is vital to minimize any potential disaster.
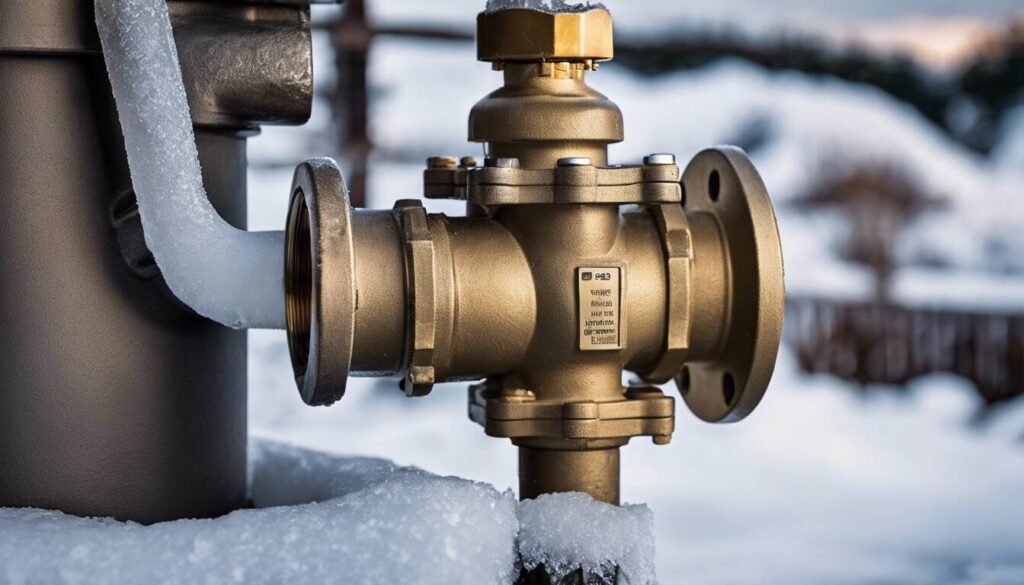
- Locate the Main Shut-Off Valve: Typically situated near the water meter or where the main line enters your house, the main water shut-off valve’s location is important to familiarize yourself with before an emergency strikes.
- Turn the Valve Clockwise to Close: In most instances, turning the valve clockwise will halt the main water supply. This simple action can be pivotal in preventing extensive water damage if a frozen pipe thaws and bursts.
- Use Right Tools If Necessary: Sometimes, infrequent use or rust may make the shut-off valve difficult to turn. In such cases, having the appropriate tools like a wrench or pliers on hand can facilitate this process.
It’s also advisable to inform all household members about the location and operation of the main shut-off valve, ensuring everyone is prepared to act swiftly in an emergency situation.
Remember, shutting off the main water supply is just one step in dealing with a frozen pipe emergency; addressing the frozen pipe itself and taking preventive measures are equally important.
Understanding and following these simple yet critical steps can mitigate potential damage and keep your home safe during a frozen pipe emergency.
Dealing with Common Frozen Pipe Problems
When dealing with frozen pipes, it’s essential to prioritize your actions to thaw them properly and avoid potential damage. Here’s an insider tip: if more than one pipe is frozen, start by thawing the pipes closest to the faucet. By doing this, you allow water flow and relieve pressure on the system, preventing excessive stress on other parts of the piping system.
Why should you focus on the pipes nearest to the faucet first? Well, these are usually where the freeze starts because they are exposed to colder temperatures. Clearing these out can not only help restore water flow but also reduce strain on the rest of the pipes. It’s like unclogging a drain; once you clear the blockage at one end, it becomes easier to push out the remaining debris.
Dealing with Partial Thawing
If you notice that a pipe has started to thaw but the water flow remains restricted, do not stop your efforts there. Continue applying heat to the affected section until normal water flow is restored. It’s crucial not to be too hasty in assuming that partial thawing means the problem is solved. Sometimes, especially if multiple pipes are frozen, it may take a bit more time for everything to get back to normal.
Just like defrosting food in your freezer, uneven thawing can lead to re-freezing and even bigger problems down the line. The last thing you want is to think everything is fixed only for another freeze-up later on.
Calling in Professional Help
Considering our deep knowledge in this field as a local plumbing company, we always recommend contacting a professional plumber for safe resolution of frozen pipe issues.
Think of it like calling in a specialist when you’re not feeling well. A professional plumber has the experience and the right tools to accurately assess your situation and safely resolve any issues without causing damage or further disruptions.
While some may be tempted to tackle this on their own, it’s important to recognize that dealing with frozen pipes can be hazardous if not handled correctly. Would you trust just anyone with your health? The same thought should apply when it comes to the health of your plumbing system.
By prioritizing which pipes to thaw and ensuring proper restoration of water flow, you’ll be able to effectively manage common frozen pipe problems and decrease potential risks associated with this issue. Remember, when in doubt, seeking professional assistance is always a wise choice!
In urgent cases, contact us at mycalgaryplumber.ca/contact/ or call us for an estimate at 587 707 0606.


