Dealing with a slow-draining bathroom sink can quickly shift from minor inconvenience to daily frustration. You may find yourself searching for an eco-friendly solution in line with your commitment to natural living, hoping for a quick fix that sidesteps harsh chemicals and pricey plumbers.
Thankfully, some tried-and-true DIY remedies use items you likely already have at home, ensuring both an effective and non-damaging solution to your plumbing woes. For example, consider harnessing the power of baking soda and vinegar—a combination that not only offers an impressive fizz but also naturally breaks down blockages without harming your pipes.
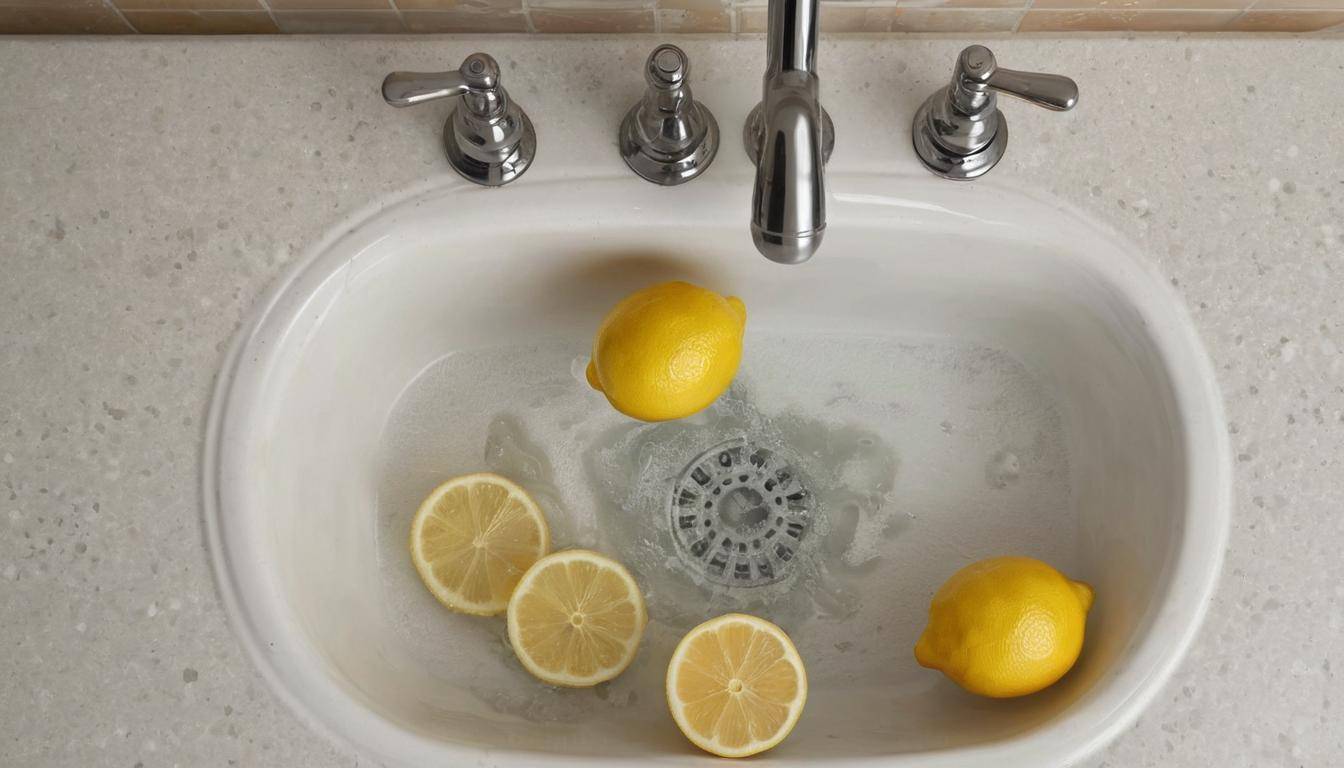
One effective natural method to unclog a bathroom sink is by pouring a mixture of baking soda and vinegar down the drain, followed by hot water. This can help break up debris and clear minor clogs. Remember to perform regular maintenance to prevent future build-up.
Baking Soda and Vinegar Method
Now, where some see a drain choked with a clog, you see an opportunity to experiment! The classic combination of baking soda and vinegar is not just for volcanoes at science fairs; it can work wonders on your bathroom sink drain too. Here’s how this age-old fix can help you clear things up without calling in a plumber.
Step 1: Preparing the Sink
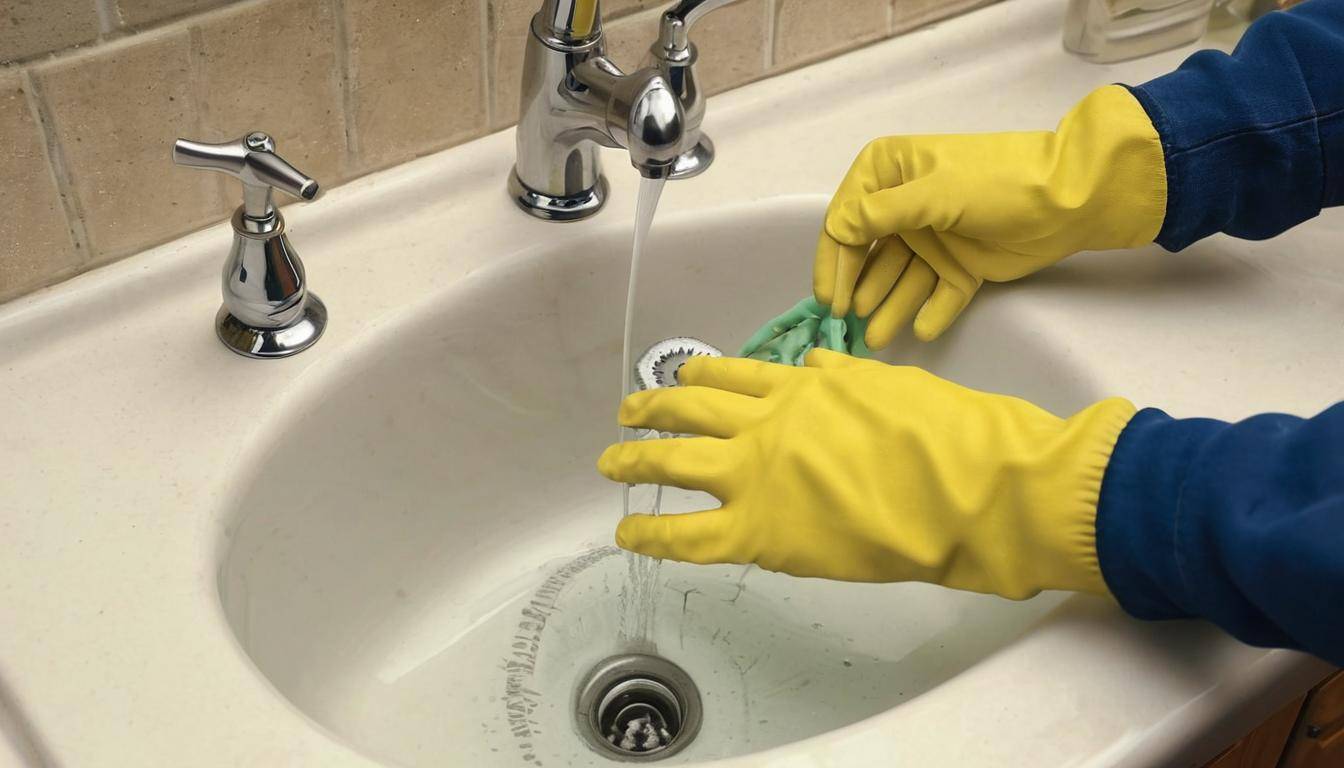
First things first, ensure that the sink’s surface is dry. Use a cup or sponge to remove any standing water in the sink. This step is important because a dry surface will allow the baking soda and vinegar to have direct contact with the clog, making the reaction more effective.
Step 2: Applying Baking Soda
Next, grab about 1 cup of baking soda and pour it directly into the drain. Use a funnel if necessary to ensure the powder goes down the drain without getting stuck around the edges of the sink.
As the chemical name sodium bicarbonate indicates, baking soda has a gentle abrasive quality that helps break down stubborn clogs. When it comes into contact with blockages, it creates an exothermic reaction with vinegar, which serves as a powerful cleaning and deodorizing agent—like magic!
Step 3: Adding Vinegar
Now, pour about 1 cup of white vinegar into the drain. As soon as it hits the baking soda, get ready for some fizzing! The combination of baking soda and vinegar creates a fizzing reaction that helps to break down and dislodge the clog that’s been holding you back from using your sink.
The fizzing reaction forms carbon dioxide gas. The pressure from this gas helps to dislodge any build-up or debris causing the blockage while also deodorizing your pipes. Eco-friendly and effective!
Step 4: Waiting Period
Allow this dynamic fizzy duo to work their way through your pipes for at least 15-20 minutes. During this period, try not to use the sink to let the mixture penetrate and dislodge the blockage completely.
Patience is key here—this fizzy mixture may look like foam, but it’s hard at work beneath the surface.
Step 5: Rinsing with Hot Water
Lastly, boil a kettle of water and carefully pour it down the drain to flush out all that debris effectively. The hot water will further help dissolve and wash away lingering remnants of grime. If there are still signs of a clog after this step, repeat until your drains are flowing freely.
With just a little bit of time and effort, you’ve used basic kitchen ingredients to create an effective DIY solution for clearing out your clogged sink naturally. But if this method doesn’t do the trick, don’t worry—we have more remedies up our sleeves!
Armed with kitchen potions and a bit of know-how, we can now turn our attention to mastering another formidable tool in unclogging bathroom sinks—the venerable plunger.
Using a Plunger Effectively
A plunger, also known as a plumber’s helper, can be your go-to tool when it comes to unclogging sinks at home. It works by creating pressure and suction to dislodge debris and blockages in the pipes.
Step I – Preparing the Sink
Before you begin, cover the overflow hole with a wet cloth. The wet cloth creates a seal around the opening, ensuring that the maximum suction from the plunger is directed towards the clog.
Step II – Submerging the Plunger
Fill the sink with enough water to submerge the plunger’s bell. This ensures that the plunger creates a watertight seal around the drain opening, enhancing its effectiveness.
Step III – Plunging Technique
Once submerged, place its cup over the drain and push down firmly to create suction. After creating suction, pull up sharply without breaking the seal. This plunging motion helps dislodge and break up the clogs in the pipes. Repeat this action several times to maximize its effectiveness.
Step IV – Assessing the Drain
After about 10-15 plunges, remove the plunger and check if the water drains effectively. If it flows freely down the drain, then you have likely cleared the clog. If not, you may need to repeat this process until there’s no obstruction.
Using a plunger effectively requires patience and proper technique. It’s essential to ensure there is no air escaping around the plunger cup during use, as this can reduce its suction power. By following these steps carefully, you can efficiently use a plunger to clear clogs in your bathroom sink, restoring proper drainage while avoiding costly plumbing repairs.
Now that you’re familiar with effective plunger usage, it’s time to explore additional DIY methods for unclogging your bathroom sink before considering professional help.
Cleaning with a Sink Auger
If you’ve tried using a plunger but the clog in your bathroom sink remains, then a sink auger, also known as a drain snake, is the next best option. Now let’s talk about how to use a sink auger and dive into its step-by-step process.
Step I – Inserting the Auger
To start, carefully insert the auger cable into the drain while turning the handle clockwise. This allows the cable to navigate the twists and turns of the pipes without getting tangled or stuck inside. The slow and steady insertion ensures that the cable reaches deep enough into the drain to address the source of the clog effectively.
Think of this process like feeding a thread through the eye of a needle—the control and precision are crucial to prevent any potential damage to the pipes inside your sink.
Step II – Reaching the Clog
Continuously feed the cable down the drain until you feel resistance, signifying that you’ve hit the clog. Remain patient during this step and maintain gentle pressure on the auger as you navigate towards and through the blockage.
This sensation might feel similar to threading a needle—once you hit that little snag, you know you’ve struck gold. It’s important not to force it at this point; instead, take your time and apply controlled pressure to successfully reach and bypass the obstruction.
Step III – Breaking the Clog
Rotate the auger handle to effectively break through or snag onto the clog. Gently pushing and pulling on the cable while turning ensures that the obstruction is dislodged without causing any further damage to your plumbing system.
Remember that using excessive force can lead to unnecessary complications, so it’s crucial to maintain a delicate touch throughout this process. Think of it as delicately untangling jewelry knots where brute force could do more harm than good.
It’s essential to approach this step with care and patience as you work to dislodge or grab onto the clog. It’s akin to removing a stubborn knot in a necklace chain; patience and gentle movements are vital for achieving success without causing any damage along the way.
Step IV – Removing the Auger
Once you’ve broken through or dislodged the clog, carefully retract the cable from the drain while turning the handle. This helps maintain pressure on any remaining debris and prevents re-clogging once you’ve removed the auger.
This step requires just as much precision and control as when inserting the auger. Imagine it like pulling out a delicate piece of fabric from underneath furniture—slow and steady wins every time. By carefully retracting and twisting simultaneously, you ensure no leftover debris is left behind.
Step V – Flushing the Drain
After removing the auger, run hot water for a few minutes to ensure all loosened debris is completely flushed out of your drain.
This step acts as your victory lap—by flushing out all remaining debris with hot water, you’re ensuring that your hard work pays off. Consider it like rinsing away sawdust after building something beautiful; it’s that final touch that ensures everything looks and functions perfectly.
In cleaning your sinks efficiently, we turn now to an effective method for clearing clogs—the Hot Water Flush Technique.
Hot Water Flush Technique
One of the easiest and most natural ways to address a clogged sink is by utilizing the power of hot water. It’s miraculous what a simple yet effective remedy hot water can be when it comes to clearing a slow or stopped-up drain.
Step I: Boiling the Water Firstly, bring a full kettle or large pot of water to a rolling boil. The heat from boiling water acts as an excellent solvent, effectively dissolving soap scum and grease buildups—the primary culprits contributing to sink clogs. Unlike chemical drain cleaners, boiling water poses no risk of damaging your pipes and plumbing fixtures.
Step II: Pouring Slowly Once the water has reached a rolling boil, carefully pour it directly into the drain in a slow, steady stream. This methodical approach enables the hot water to work its way through the clog efficiently, breaking down the buildup and pushing it through.
For example, envision how you delicately pour honey from a bottle into a cup of tea to avoid spills. The deliberate, slow pouring of hot water provides controlled pressure that aids in dislodging debris and facilitating smoother drainage.
Step III: Repeating If Necessary After pouring the hot water, allow some time for it to work its magic. If the water doesn’t drain immediately after the first attempt, consider repeating the process two to three times. Occasionally, stubborn clogs may require multiple applications of hot water, with intervals between pours to allow the water to penetrate and dissolve the blockage thoroughly.
The hot water flush technique offers an eco-friendly and natural approach to tackling minor sink clogs before resorting to harsh chemical products or professional help. It’s important to remember that patience is key—allowing the water time to do its work can yield gratifying results that are gentle on both your pipes and the environment.
Let’s now explore another simple and cost-effective procedure known for its efficacy in unclogging bathroom sinks using basic household items.
Utilizing Salt and Boiling Water
When dealing with a clogged drain, it might be surprising to learn that simple pantry staples can offer a helping hand. Salt is an abrasive substance that can act as a natural scrubber for the interior of the pipes.
Step I – Adding Salt
Pour about 1/2 cup of table salt directly into the drain. The grittiness of salt will work at loosening any gunk or sludge clinging to the pipe walls.
A steady flow of piping hot water ensures the salt travels through the drain, taking the lodged particles along with it.
Step II – Boiling Water
Immediately after adding the salt, follow it up with boiling water—about one full kettle’s worth. The combination of salt and boiling water works together to dissolve greasy and oily buildup within the pipe system.
Much like washing greasy dishes, combining salt with hot water helps break down and rinse away oil and grime. This technique is especially effective when soap or toothpaste residue has solidified within the drain.
After allowing this mixture to sit for around 10-15 minutes, you’re giving it time to penetrate through any blockages, dissolving buildup within the pipes.
Letting this dynamic mixture sit allows it time to fully act on the residue, ensuring complete dissolution before moving on to the next step.
To finish off, thoroughly rinse out the drain with more hot tap water. This will help wash away any remaining debris that has been dislodged by the salt and boiling water combination.
By utilizing these household items, you can effectively tackle grease and gummy residues that could be causing blockages in your bathroom sink. It’s a simple yet powerful way to keep your drains clear without resorting to harsh chemicals.
Before turning to extreme measures or elaborate solutions for a persistent clog, consider the signs that indicate professional intervention may be necessary for your plumbing issue.
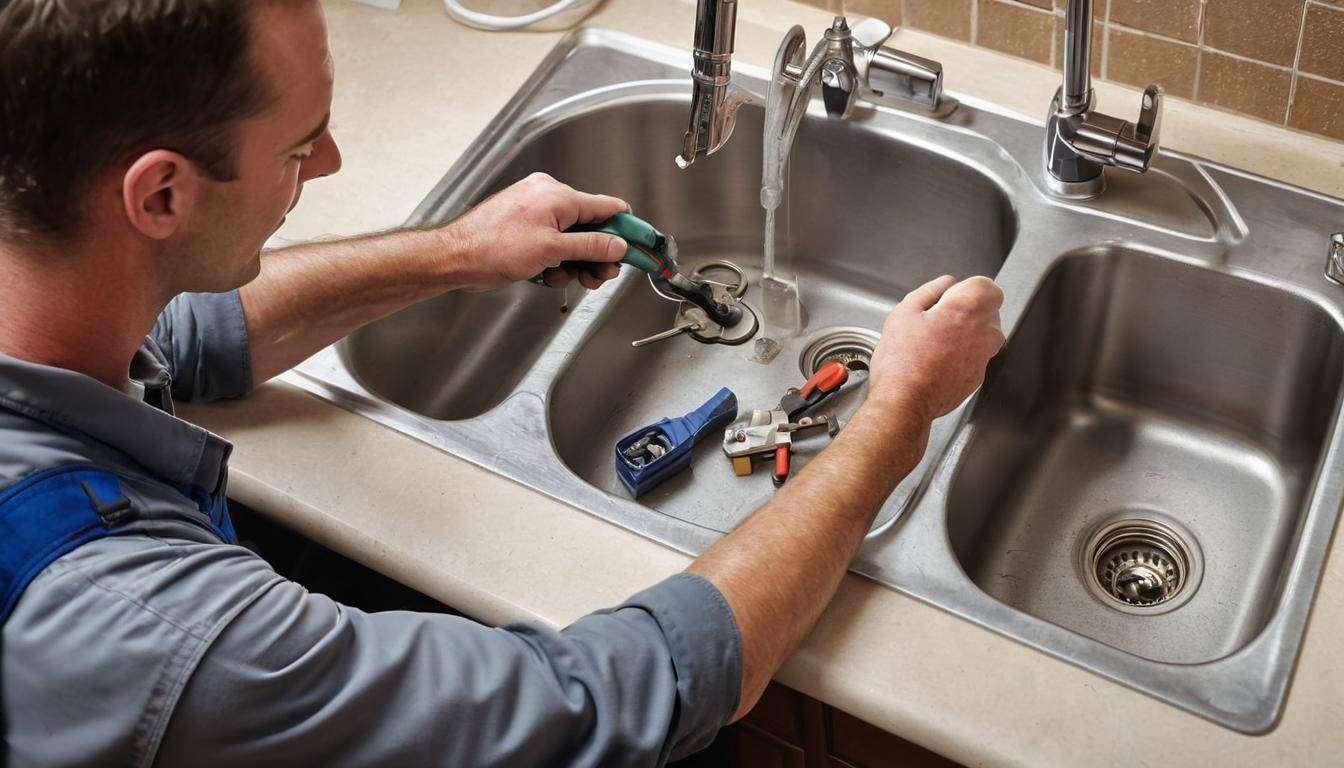
When to Seek Professional Help
While it’s great to tackle minor clogs on your own, there comes a point when you realize that the clog in your bathroom sink is just not budging. It might drain slower than before or just won’t clear up no matter what you try. At this juncture, seeking professional help is the prudent thing to do.
If you’ve attempted natural methods and the clog persists, it could indicate a deeper issue within the plumbing system that requires professional attention. Persistently slow drainage after multiple attempts serves as a clear indication that the clog is beyond what DIY remedies can effectively tackle.
For instance, recurrent clogs may be a symptom of more extensive pipeline issues. The buildup of hair, soap scum, or other debris trapped further down the pipes may require the expertise and specialized equipment of a professional plumber to remedy.
Attempting to address these persistent clogs with DIY methods might lead to inadvertent damage to the plumbing system. It’s important to avoid using harsh chemicals and improper tools that can potentially worsen the situation.
Avoiding Damage
Although DIY approaches can often resolve minor clogs, utilizing inappropriate techniques or tools for persistent blockages might inadvertently damage the plumbing system. Aggressively plunging or using harmful chemical cleaners can exacerbate the problem, leading to costly repairs and potential water damage.
This is where the value of professional plumbers becomes evident.
Benefits of Professional Services
Professional plumbers possess the expertise, equipment, and experience to handle even the most stubborn clogs while safeguarding your plumbing system from harm. They have access to advanced tools such as drain snakes and hydrojetting machines, which are highly effective in clearing tough clogs without causing harm to your pipes. Furthermore, their proficiency enables them to diagnose underlying issues and provide comprehensive solutions for long-term prevention.
Additionally, local plumbing services like our company offer same-day or emergency services, emphasizing prompt responses for urgent issues. Their skilled technicians are equipped with the necessary tools and knowledge to address complex problems efficiently.