

If your toilet handle isn’t working, it can be a real hassle. Whether it’s loose, broken, or sticking, a malfunctioning handle can lead to bigger problems if not addressed. Luckily, most toilet handle issues are straightforward to fix. In this guide, we’ll walk you through the common problems and how to tackle them, so you can get your toilet back in working order without too much fuss. Let’s dive into the details!
Let’s face it, a toilet handle that isn’t working right can be a real pain. It’s one of those things you don’t think about until it breaks, and then it’s all you can think about. Before you start tearing things apart, it’s good to know what you’re dealing with. Here’s a breakdown of common toilet handle issues.
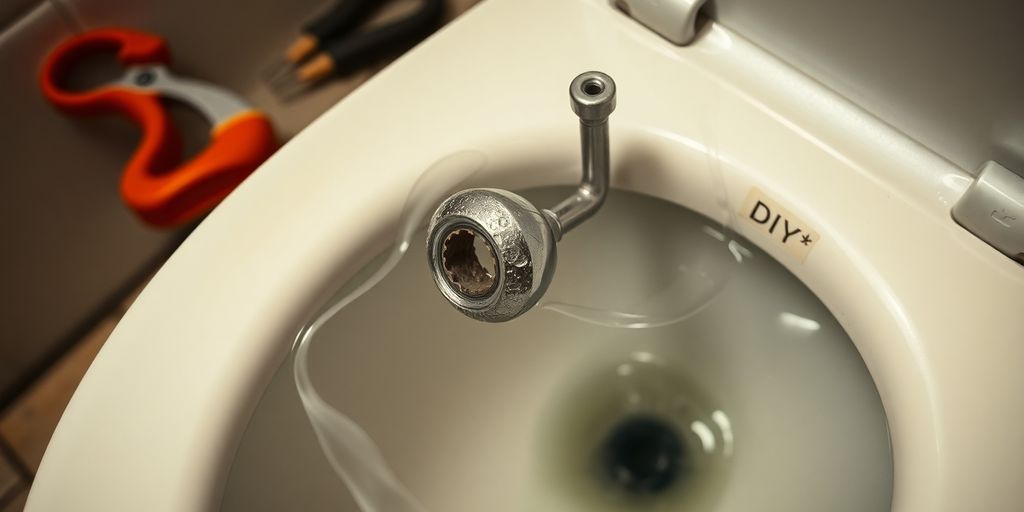
First things first, you need to figure out exactly what’s wrong. Is the handle completely broken off? Is it loose and wobbly? Or is it sticking after you flush? Pinpointing the problem is the first step to fixing it. Take a close look at the handle itself, how it’s connected, and what happens when you try to flush. Sometimes, it’s obvious, like a clean break. Other times, it’s more subtle, like a crack you can barely see.
To really understand what’s going wrong, it helps to know how a toilet handle actually works. When you push the handle, it lifts a chain inside the tank. That chain pulls up the flapper, which lets water rush into the bowl and flush everything away. If any part of this system is off, the whole thing can fail. The handle, the arm, the chain, the flapper – they all need to be in good shape and working together.
Like anything else, toilet handles wear out over time. Plastic parts can become brittle and crack. Metal parts can rust or corrode. The chain can get stretched out or break. Here are some common signs that your toilet handle is on its last leg:
Ignoring these signs can lead to bigger problems down the road, like a constantly running toilet that wastes water and drives up your bill. So, it’s best to address these issues sooner rather than later.
So, your toilet handle feels a bit wobbly? Don’t worry; it’s a pretty common issue, and often, you can fix it yourself without needing to call a plumber. A loose handle usually means something inside the tank has come undone. Let’s get it sorted out.
Okay, first things first, take off the toilet tank lid and set it aside carefully. Now, look inside the tank. You’re searching for the nut that holds the handle in place. It’s usually on the inside of the tank, right behind where the handle sticks out. This nut can sometimes loosen over time due to regular use.
Sometimes, tightening the nut isn’t enough, especially if the threads are worn or stripped. That’s where plumber’s tape comes in handy. It’s cheap, easy to use, and can give you that extra bit of security.
Alright, you’ve tightened the nut (maybe with some plumber’s tape help). Now, it’s time to make sure everything is working as it should. This step is important to prevent future issues.
So, the toilet handle finally gave up the ghost, huh? Don’t worry; replacing it is usually a straightforward job. You will need a new handle, maybe a new chain, and some basic tools. Let’s get to it.
Alright, first things first, you’ll need to get the old handle out. Start by removing the toilet tank lid and setting it aside carefully. Turn off the water supply to the toilet; you don’t want any unexpected floods. Flush the toilet to drain as much water as possible from the tank. Now, disconnect the chain from the handle arm. You might need pliers for this.
Next, find the nut that secures the handle inside the tank. Loosen it with pliers or an adjustable wrench. Sometimes these nuts can be pretty tight, so you might need a bit of elbow grease. Once the nut is off, you should be able to slide the old handle out.
Removing the old handle can be tricky if it’s corroded or stuck. If it doesn’t budge easily, try using a penetrating oil to loosen it up. Be patient and avoid forcing it, as you don’t want to crack the tank.
Now for the fun part: putting in the new handle. Slide the new handle into the hole in the tank. Make sure it’s facing the right way! Secure it with the nut you removed earlier. Tighten the nut, but don’t overtighten it, or you risk cracking the tank. You want it snug, not Hulk-smash tight.
Toilet handles come in a few different styles:
Make sure you’ve got the right type for your toilet before you start.
Almost there! Now, you need to reconnect the chain from the handle arm to the flapper. Make sure the chain has a little slack, but not too much. If it’s too tight, the flapper might not seal properly, and your toilet will keep running. If it’s too loose, the flapper might not lift enough to flush properly.
Here’s a quick checklist to ensure everything is connected correctly:
Once the chain is connected, turn the water supply back on and let the tank fill up. Test the flush to make sure everything is working as it should. If the toilet flushes properly, congratulations! You’ve successfully replaced your toilet handle. If not, double-check the chain length and handle installation.
Is your toilet handle sticking after you flush? It’s a common issue, and thankfully, often an easy fix. A sticking handle can cause the toilet to run continuously, which wastes water and increases your water bill. Let’s get that handle working smoothly again.
First things first, let’s take a look inside the toilet tank. Carefully remove the tank lid and set it aside. The nut that holds the handle arm in place might be too tight. If the nut is not damaged, try this:
Sometimes, the handle arm itself might be the culprit. It could be bent or misaligned, causing it to rub against the side of the tank or other components. Here’s what to do:
A properly adjusted handle arm and chain are essential for a smooth, reliable flush. Take your time with these adjustments to avoid further issues.
After making adjustments, it’s important to test the handle to ensure it’s working correctly. Here’s how:
If the handle continues to stick, you might need to consider replacing the entire handle assembly. If you’re not comfortable with this, My Calgary Plumber is always here to help. Give us a call, and we’ll get your toilet flushing like new!
Sometimes, despite your best efforts, a toilet handle issue might be more than you can handle on your own. It’s important to recognize when a job requires a professional touch. Ignoring complex problems can lead to bigger, more expensive issues down the road, so let’s discuss when it’s time to call My Calgary Plumber.
How do you know if the problem is beyond a simple DIY fix? Well, if you’ve tried the basic solutions – tightening nuts, replacing the chain, adjusting the handle arm – and the toilet still isn’t flushing correctly, or if you notice water leaking from the tank or around the base of the toilet, it’s a sign that something more serious is going on. These could indicate problems with the flapper, fill valve, or even the wax ring sealing the toilet to the floor. Don’t hesitate to reach out if you’re facing any of these situations.
Before calling a plumber, it’s natural to wonder about the cost. Simple repairs, like replacing a flapper or fill valve, are usually quite affordable. However, more complex issues, such as a cracked tank or a problem with the plumbing inside the wall, can be more expensive to fix. Getting a quote from My Calgary Plumber can help you understand the potential costs involved and make an informed decision. We always aim for transparency and fair pricing.
There are times when attempting a DIY repair can actually make the problem worse. If you’re not comfortable working with plumbing, or if you’re unsure about what you’re doing, it’s best to leave it to the professionals. Also, if you live in an older home with outdated plumbing, attempting to fix something yourself could damage fragile pipes or fixtures.
Trying to save a few dollars on a repair can sometimes lead to much bigger expenses down the line. It’s better to be safe than sorry, especially when it comes to plumbing.
Here are some situations where calling a plumber is the best course of action:
Don’t hesitate to call My Calgary Plumber. We’re here to help!
Congratulations! You’ve put in the work, and now you should have a toilet that flushes smoothly. It’s a good feeling to fix something yourself, isn’t it? Let’s make sure everything is working as it should and talk about keeping it that way.
This is the moment of truth. Give that handle a good, firm press and watch what happens. Does the toilet flush completely? Does the flapper seal properly afterward, stopping the water flow? If everything seems right, flush a few more times just to be sure. Listen for any unusual sounds – gurgling, hissing, or anything that just doesn’t sound quite right. If you notice anything off, it might be time to revisit the previous steps or consider if another issue is at play.
Think of your toilet handle like any other part of your home – a little maintenance goes a long way. Here are a few things you can do to keep it in good shape:
A little preventative care can save you from bigger headaches down the road. Taking a few minutes every now and then to check on your toilet handle and its related components can help you avoid unexpected repairs and keep your bathroom running smoothly.
While you can’t prevent every problem, there are steps you can take to minimize the chances of future toilet handle troubles:
If you’re still having issues, or just don’t feel comfortable tackling these repairs yourself, don’t hesitate to call My Calgary Plumber. We’re here to help!
Now that your toilet is up and running, it’s time to enjoy the comfort and convenience it brings! Remember, a well-functioning toilet is essential for a happy home. If you ever face any issues or need help with plumbing, don’t hesitate to reach out. Visit our website for expert plumbing services available 24/7.
So there you have it! Fixing a toilet handle isn’t rocket science. With just a few tools and some patience, you can tackle this problem yourself. Remember to check for any broken parts, tighten what needs tightening, and if all else fails, don’t hesitate to replace the handle. Keeping your toilet in good shape not only saves you money but also keeps your bathroom running smoothly. If you ever feel overwhelmed, calling a plumber is always an option. But with the tips in this guide, you’re well on your way to becoming your own plumbing hero!
If your toilet handle is loose, you can try tightening the nut inside the tank. Use pliers to do this carefully so you don’t break anything.
If the handle is cracked, broken, or doesn’t work even after tightening, it’s time to replace it.
You’ll need pliers, a wrench, and possibly a replacement handle if the old one is broken.
A sticking handle can be caused by a tight nut or a bent handle arm. Check both and adjust them if needed.
No, replacing a toilet handle is quite simple and can usually be done in less than an hour.
If you notice leaks or if the handle problems persist after your attempts to fix them, it’s best to call a plumber.