

Having a toilet that only flushes partially can be a real headache. It’s annoying and can lead to bigger issues if not addressed. There are various reasons why this might happen, from simple clogs to problems with the tank components. In this article, we’ll explore the common causes and solutions to help you get your toilet flushing properly again.
Experiencing a toilet that only partially flushes can be quite frustrating. Before you consider calling a plumber, let’s explore some of the usual suspects behind this common issue. Identifying the cause is the first step toward a solution. Often, the problem stems from simple issues you can address yourself.
One of the most frequent reasons for a weak flush is insufficient water in the tank. If the water level isn’t high enough, there won’t be enough force to properly clear the bowl. Check the water level against the fill line marked inside the tank. If it’s low, the fill valve might need adjustment or replacement. A quick look can save you time and money.
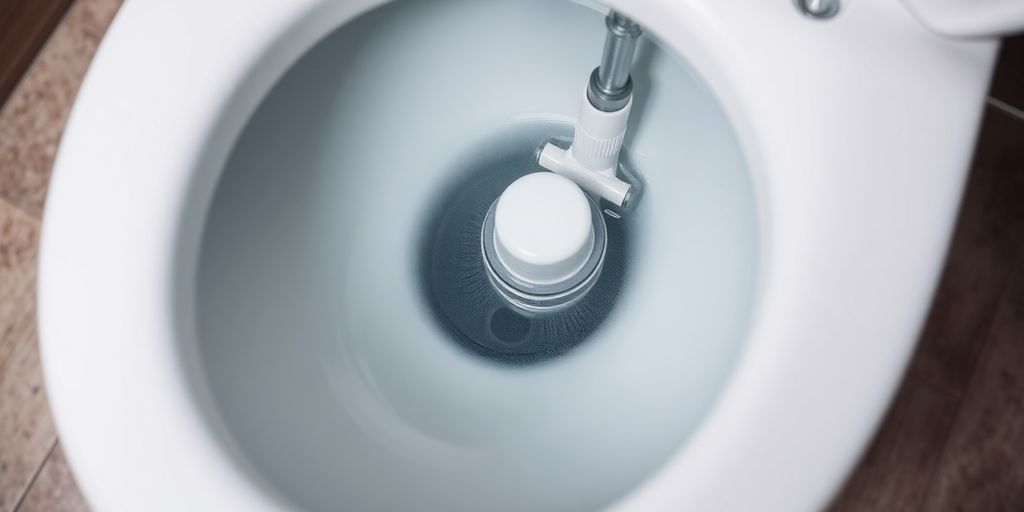
Over time, mineral deposits from hard water can clog the small holes (rim jets) under the rim of the toilet bowl. These jets are designed to direct water around the bowl during a flush, aiding in cleaning. When they’re blocked, the flush becomes weak and ineffective. You might notice:
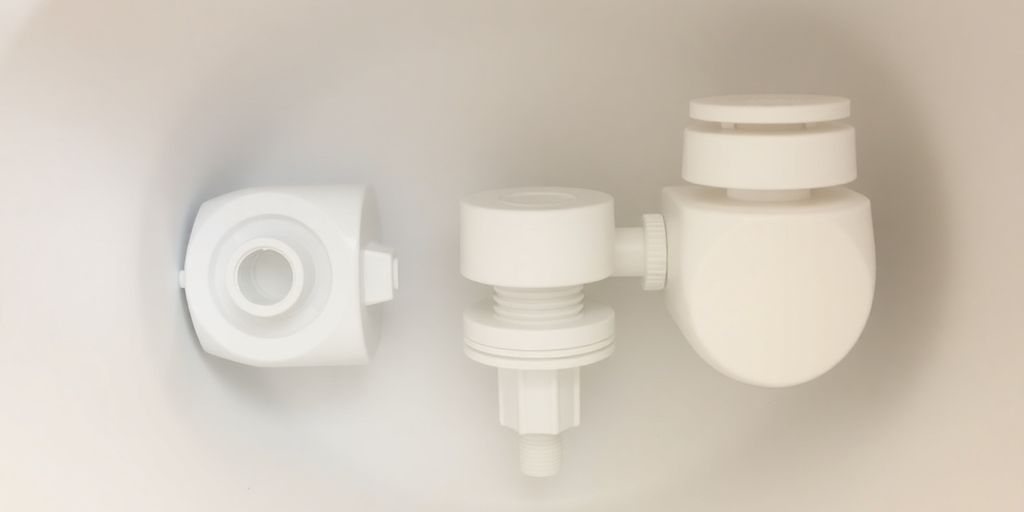
The flapper is the rubber or silicone seal at the bottom of the tank that lifts to release water into the bowl. If the flapper is old, cracked, or warped, it may not create a tight seal. This leads to water leaking from the tank, reducing the amount of water available for a full flush. A faulty flapper is a common culprit and relatively easy to replace. Consider these points:
Addressing these common issues can often resolve partial flushing problems. However, if you’ve checked these areas and the problem persists, it might be time to investigate further or consult a professional.
If your toilet’s not flushing right, sometimes the problem is inside the tank. Don’t worry, you don’t need to be a plumber to take a look. Here’s what to check:
The fill valve is what refills the tank after you flush. If it’s not working right, you might not get enough water for a good flush. Take a look at the valve while the tank is filling. Is the water coming out strong, or is it weak and sputtering? A weak stream could mean the valve is clogged or needs replacing. Also, check for any visible damage or mineral buildup. Sometimes, just cleaning the valve can make a big difference. If it looks really bad, replacing it might be the best option. They’re not too expensive, and it’s a pretty easy DIY job.
The float tells the fill valve when to stop filling the tank. If the float is set too low, or if it’s sticking, you won’t get enough water in the tank. There are two main types of floats: ball floats and cylinder floats. Ball floats are big and round, attached to an arm. Cylinder floats slide up and down a rod. Make sure the float isn’t rubbing against the side of the tank or any other parts. Adjust the float so the water level is about an inch below the top of the overflow tube. If the float is damaged or waterlogged, it’s time to replace it.
The overflow tube is there to prevent the tank from overflowing. But, it can also be a sign of other problems. If the water level in your tank is constantly reaching the overflow tube, it means water is leaking somewhere. This could be a sign of a faulty fill valve or a flapper that isn’t sealing properly.
If you see water constantly trickling into the overflow tube, even when the toilet hasn’t been flushed, that’s a red flag. It means you’re wasting water, and it’s probably the reason your toilet isn’t flushing well. Ignoring this can lead to higher water bills and further damage to your toilet.
Here’s a quick checklist:
If you’re not comfortable tackling these issues yourself, or if you suspect a more serious problem, don’t hesitate to call My Calgary Plumber. We’re here to help!
If your toilet’s flushing power is less than impressive, a blockage is often the culprit. Don’t worry; you can usually tackle this yourself before calling My Calgary Plumber. Here’s how to clear those pesky clogs and get your toilet flushing like new.
The plunger is your first line of defense against a clogged toilet. But technique matters! Make sure you’re using a flange plunger, which has a soft rubber flap that folds out from the cup. This creates a better seal, especially in modern toilets. Here’s the right way to use it:
When a plunger isn’t enough, it’s time to bring out the toilet auger (also known as a closet auger). This tool is designed to break up or retrieve stubborn clogs without damaging your toilet bowl. Here’s how to use one:
For minor clogs, sometimes all you need is hot water. This method is best for clogs caused by excessive toilet paper or other easily dissolvable materials. However, never use boiling water, as it can crack the porcelain. Here’s what to do:
If none of these methods work, the clog may be too severe, or there might be another issue at play. It might be time to call in a professional from My Calgary Plumber to diagnose and fix the problem. We have the tools and experience to handle even the toughest toilet troubles.
To keep your toilet working well for years, a little regular maintenance goes a long way. It’s not just about preventing partial flushes; it’s about avoiding bigger, messier problems down the road. Think of it as preventative care for your plumbing.
Those little holes under the rim of your toilet bowl? Those are rim jets, and they’re crucial for a powerful, effective flush. Over time, they can get clogged with mineral deposits and grime, which reduces the water flow and weakens your flush. Cleaning them regularly is a simple task that can make a big difference.
Hard water is common in Calgary, and it can lead to mineral buildup in your toilet tank and bowl. This buildup can affect the performance of your toilet’s components and restrict water flow. Keep an eye out for white, chalky deposits.
Toilet parts don’t last forever. The flapper, fill valve, and other components can wear out over time, leading to leaks, weak flushes, and other problems. Replacing these parts is usually a straightforward and inexpensive fix.
Replacing worn parts promptly can prevent more serious plumbing issues and save you money on water bills. It’s a small investment that pays off in the long run.
Sometimes, despite your best efforts, the toilet still won’t flush properly. It’s understandable to want to handle things yourself, but there comes a point where calling in a professional is the best course of action. Ignoring persistent issues can lead to bigger, more expensive problems down the road. Let’s explore when it’s time to bring in the experts at My Calgary Plumber.
How do you know when it’s time to throw in the towel and call a plumber? Here are a few telltale signs:
Some toilet problems are more complex than a simple clog or a worn-out flapper. These issues often require specialized tools and knowledge to diagnose and repair correctly. For example:
Trying to fix these complex issues yourself can be risky and may even cause further damage. It’s always best to consult with a qualified plumber who can accurately diagnose the problem and recommend the appropriate solution.
Of course, cost is always a factor when deciding whether to call a plumber. While DIY repairs can save money in the short term, they can also end up costing you more in the long run if you make a mistake or misdiagnose the problem. Here’s a breakdown of cost considerations:
Before hiring a plumber, be sure to get an estimate of the cost of repairs. My Calgary Plumber is happy to provide transparent pricing with no hidden fees. We want you to feel confident in your decision to choose us for your plumbing needs. Give us a call today!
Alright, let’s talk about getting your hands dirty (figuratively, of course!). Sometimes, the solution to a weak flush is as simple as giving your toilet a good scrub. We’re not just talking about the bowl here; we need to get into the nitty-gritty of the tank and those little rim jets that can get clogged over time. Think of it as a spa day for your toilet – it deserves it!
Okay, so you’ve cleaned everything, and it’s still not flushing right? Let’s check the flapper chain. This little chain connects the flush handle to the flapper, which is the rubber piece that seals the opening at the bottom of the tank. If the chain is too long, the flapper won’t lift enough to allow a full flush. If it’s too short, the flapper might not seal properly, causing the toilet to run constantly.
Here’s how to adjust it:
Sometimes, the issue isn’t a clog or a faulty chain; it’s simply a matter of not enough water in the tank. If the water level is too low, you won’t get a powerful enough flush to clear the bowl effectively.
Here’s how to check and adjust the water level:
Remember, patience is key when tackling these DIY fixes. Don’t be afraid to experiment and try different solutions until you find what works best for your toilet. And if you’re ever feeling overwhelmed or unsure, don’t hesitate to call a professional – like us here at My Calgary Plumber! We’re always happy to help.
To keep your toilet working well, a little regular care goes a long way. It’s not just about the occasional scrub; it’s about preventing problems before they start. Think of it like changing the oil in your car – a little effort now saves you from big trouble later.
Regular maintenance is key to preventing future flushing issues. A little effort now can save you from costly repairs down the road.
What you use to clean your toilet matters. Some products can actually harm your toilet over time, leading to problems with flushing and other issues. It’s worth taking a moment to choose the right cleaners and avoid the wrong ones.
Everyone in your household needs to be on board with proper toilet use. It only takes one person flushing the wrong thing to cause a clog or other problem. A little education can go a long way in preventing future issues.
To avoid problems with your toilet in the future, make sure to keep it clean and only flush items that are safe. Regular maintenance can help catch issues early. If you want to learn more about how to keep your plumbing in top shape, visit our website for tips and services!
So, if your toilet is only flushing partway, don’t panic. There are a few common reasons for this, like clogs, low water levels, or a faulty flapper. Start by checking the tank to see if it’s filling up properly. If it’s not, adjust the float or check the fill valve. If the tank is fine, you might need to tackle a clog or clean out those pesky rim jets. Remember, a little maintenance can go a long way. If you’ve tried everything and it’s still not working, it might be time to call in a pro. But don’t let a weak flush ruin your day—most of these fixes are pretty straightforward!
If your toilet isn’t flushing all the way, first check the water level in the tank. Make sure it’s high enough to allow a full flush. You might also need to check for clogs in the toilet or the drain.
If your toilet keeps running or doesn’t flush properly, the flapper might not be sealing well. You can check this by lifting the tank lid and looking for water leaking from the flapper.
Low water levels can happen if the fill valve is clogged or not working properly. You may need to clean or replace the fill valve to fix this issue.
To clean the rim jets, you can pour vinegar into the toilet tank and let it sit for a few hours. Then, use a brush or a pipe cleaner to scrub the jets and remove any buildup.
If you’ve tried fixing the toilet yourself and it still doesn’t work, it might be time to call a plumber. They can help with more complicated issues that you can’t fix on your own.
To prevent problems, regularly check and clean your toilet parts, avoid flushing non-biodegradable items, and educate everyone in your home about proper toilet use.