Dealing with a slow-draining bathtub can turn your refreshing bath time into a bothersome chore. You watch impatiently as the water takes its sweet time slipping away, making you wonder if you did something wrong or what hidden obstruction is causing this annoyance. As someone enthusiastic about DIY home repairs, you’re probably eager to resolve this on your own—but cautious about diving in without solid guidance.
Don’t worry; fixing your sluggish drain might be simpler than you think. Through effective tools and clear instructions, our guide will walk you through pinpointing pesky issues like hair clogs or mineral buildup from hard water. By following proven steps we’ve carefully researched and tested, you’ll gain the confidence needed to restore your tub’s swift drainage—and maybe even enjoy the process along the way. Let’s start by looking at what often causes these troublesome slowdowns in the first place…
The best way to fix a slow-draining bathtub is by removing the tub stopper and clearing any hair or debris that may be causing the blockage. This can often resolve the issue and improve drainage. Additionally, using a plumbing snake or chemical drain cleaner may also help break up any clogs further down the drain.
Common Causes of Slow-Draining Bathtubs
The exasperation of standing in a pool of water during a shower isn’t pleasant. There are a few common culprits that might be causing your tub to drain slowly:
Hair Accumulation
Hair can be a major headache for your bathtub drain. Loose hairs combine with soap residue and form a tough clog, making the drain slower. On average, an individual sheds about 50-100 hairs daily. It’s no surprise that many of them find their way into bathroom drains, wreaking havoc on the drainage system.
To get rid of this problem, consider using a hair catcher over your drain. This simple yet effective tool can prevent most of the hair from going down the drain, reducing the likelihood of clogs.
Soap Scum and Product Buildup
When you lather up with soap, shampoo, or conditioner in the shower, it leaves behind a sticky residue called soap scum. Over time, this residue can build up and constrict water flow, causing your bathtub to drain slowly. To make matters worse, hard water can exacerbate this issue by forming mineral deposits that further restrict drainage.
Using a solution made of equal parts water and vinegar is an effective way to dissolve soap scum and mineral buildup. Simply pour the solution down the drain, let it sit for about 30 minutes, then flush it with hot water.
Foreign Objects
Items like small toys, razor caps, or other debris accidentally dropped down the drain can obstruct water flow and contribute to slow drainage. Ensuring that no foreign objects are near the drain will reduce the risk of these items causing an obstruction.
For instance, if you have children who enjoy bath time with toys, make sure not to forget any toys when draining the tub. Similarly, ensure razor caps or any small objects don’t fall into the drain during a shave.
Pipe Corrosion
Older plumbing systems with corrosive metal pipes might also be to blame for slow-draining bathtubs. As pipes deteriorate over time due to corrosion or rust, they narrow the passage for water to flow freely, leading to slower drainage.
Understanding these common causes gives us a good starting point for finding solutions that fit our specific needs and keeping our bathtubs free from annoying slow drainage issues.
Now let’s turn our attention to a pivotal step in addressing slow-draining bathtubs—the essential methods for removing and cleaning the stopper.
Removing and Cleaning the Stopper
The stopper in your bathtub is an essential part of the drainage system. It blocks water from flowing out when you’re taking a bath, but it also collects hair, soap scum, and other debris over time, leading to a slow or clogged drain. Fortunately, cleaning it isn’t as daunting as it might sound.
Step I – Identifying the Stopper Type
Different types of stoppers have different removal procedures. The design of the stopper influences how it should be cleaned. For instance, a lift-and-turn stopper requires unscrewing a set screw underneath the knob, while a toe-touch stopper can usually be unscrewed from its base. Having this knowledge upfront will ensure that you approach the cleaning process correctly.
The sink isn’t the only sink that needs to be checked; even the stopper itself must be cleaned weekly to retain its efficiency and to prevent clogs from developing inside your tub’s plumbing system.
Step II – Removing the Stopper
Once you’ve identified the stopper type:
- For Lift-and-Turn and Push-and-Pull Stoppers: Unscrew the set screw underneath the knob using a suitable screwdriver.
- For Toe-Touch Stoppers: Unscrew from the base by turning it counterclockwise until it is released from the drain.
Remember to place any screws or small parts in a secure location to avoid losing them. Do these tasks carefully. Using excessive force or improper tools can result in damaging these components and would make repair work for your drain more demanding.
Step III – Cleaning the Stopper
After removing the stopper:
- Use a brush to remove hair and other gunk that has gathered around the base.
- Soak it in mild detergent to remove any soap scum or stubborn debris.
Regular cleaning of your stopper is beneficial—it not only prevents clogs but also ensures that your drainage system remains efficient. Neglecting this task may lead to plumbing issues that can be a hassle to fix later on.
Step IV – Checking the Drain
While you have the stopper removed, take a moment to:
- Inspect the drain opening for visible obstructions.
- Use a flashlight for better visibility if necessary.
Just like spring-cleaning your house extends beyond just vacuuming – so does ensuring your tub’s drains stay smooth running after removing any buildup from hair strands or unseen items stuck within deep drains.
Step V – Reassembling the Stopper
Now that everything is clean:
- Reattach the stopper by reversing the removal procedure.
- Test the drain to ensure water flows freely without any obstructions.
Returning all parts together ensures that no leaks would occur once water runs through again.
With these steps complete, you now have a clean stopper and hopefully improved water flow! But there’s more work to be done before we’re finished addressing a slow-draining bathtub.
Effective Plunging Techniques
When it comes to clearing a clogged drain, using a plunger is often the first technique everyone tries. However, there’s a bit more to it than just giving the plunger a few pushes up and down. Specific steps and techniques can significantly increase the effectiveness of your efforts. Whether it’s hair, soap scum, or other debris in the blockage, employing the right plunging method is essential for dislodging and clearing the debris from the drain.
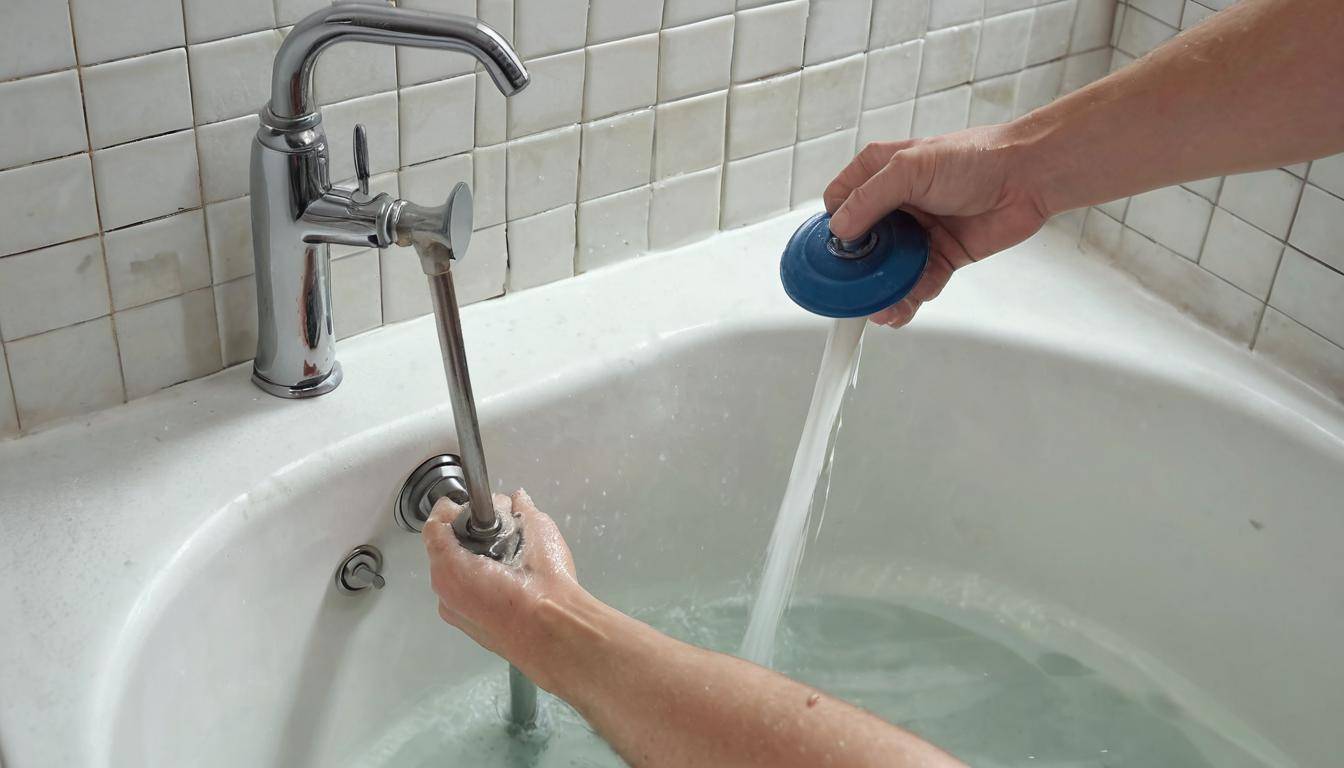
To start, ensure that your bathtub is filled with just enough water to cover the base of the plunger. This water will provide the necessary suction to dislodge any clogs in the drain.
Moving on to sealing the overflow drain – this step is often overlooked but incredibly important. By covering the overflow drain with a wet rag, you can enhance the efficiency of your plunging efforts by preventing air from escaping through the overflow opening. This results in more forceful pressure on the clog, increasing your chances of success.
Now, using a cup-style plunger is fundamental. Position it over the drain and firmly press down to create a strong seal. Then, pump it up and down vigorously for about 15-20 seconds. This intense and repeated action creates pressure and dislodges most types of clogs.
After plunging, remove the plunger and test the flow of water down the drain. If it’s still slow, or if there’s no improvement at all, then repeat the plunging process until you notice a significant change in water flow.
Remember, persistence is key – stubborn clogs may require several attempts to completely clear. And don’t forget to periodically check the drain for improved water flow even after apparent success – this helps ensure that you’ve fully cleared any obstruction in your bathtub’s plumbing system.
A thorough understanding and consistent application of these plunging techniques can dramatically improve your ability to effectively unclog your bathtub drain without needing professional assistance.
Successfully mastering these plunging techniques serves as a vital foundation for addressing more complex plumbing issues like using a drain snake.
Using a Drain Snake
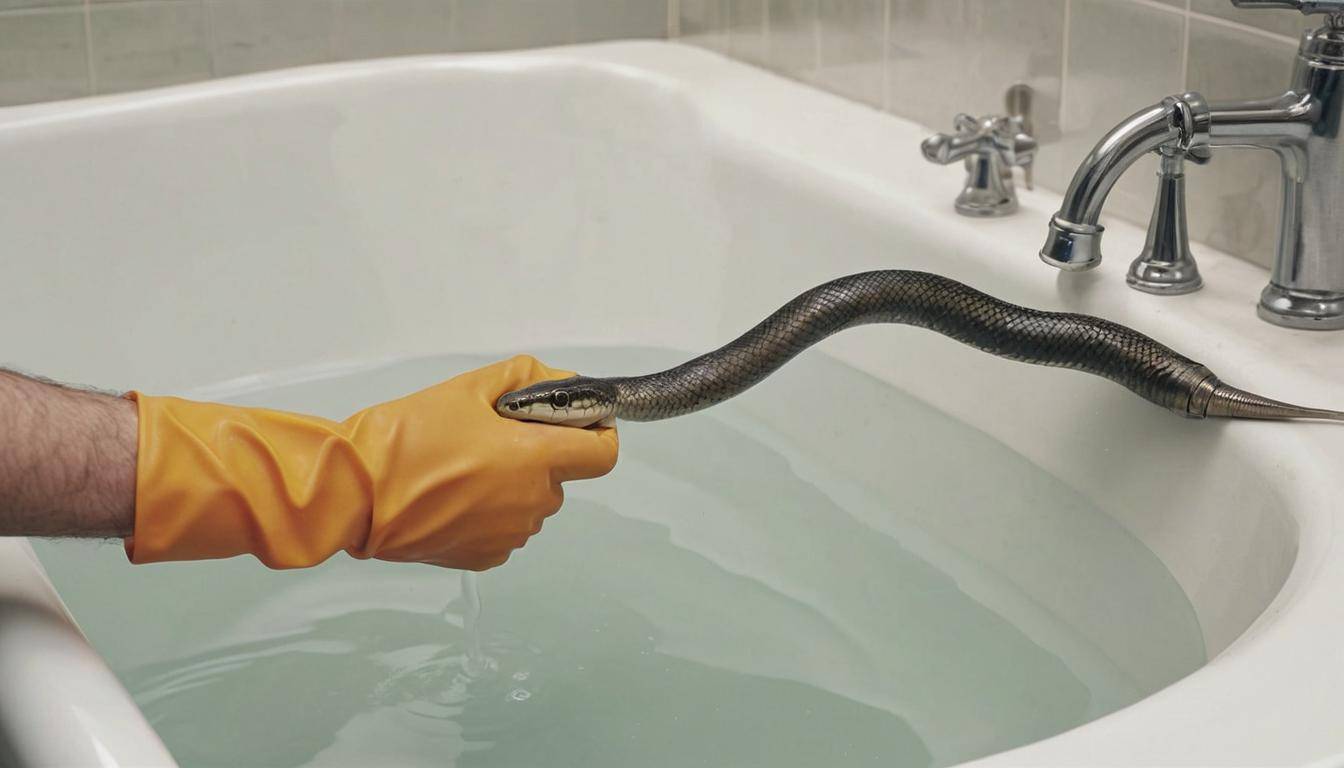
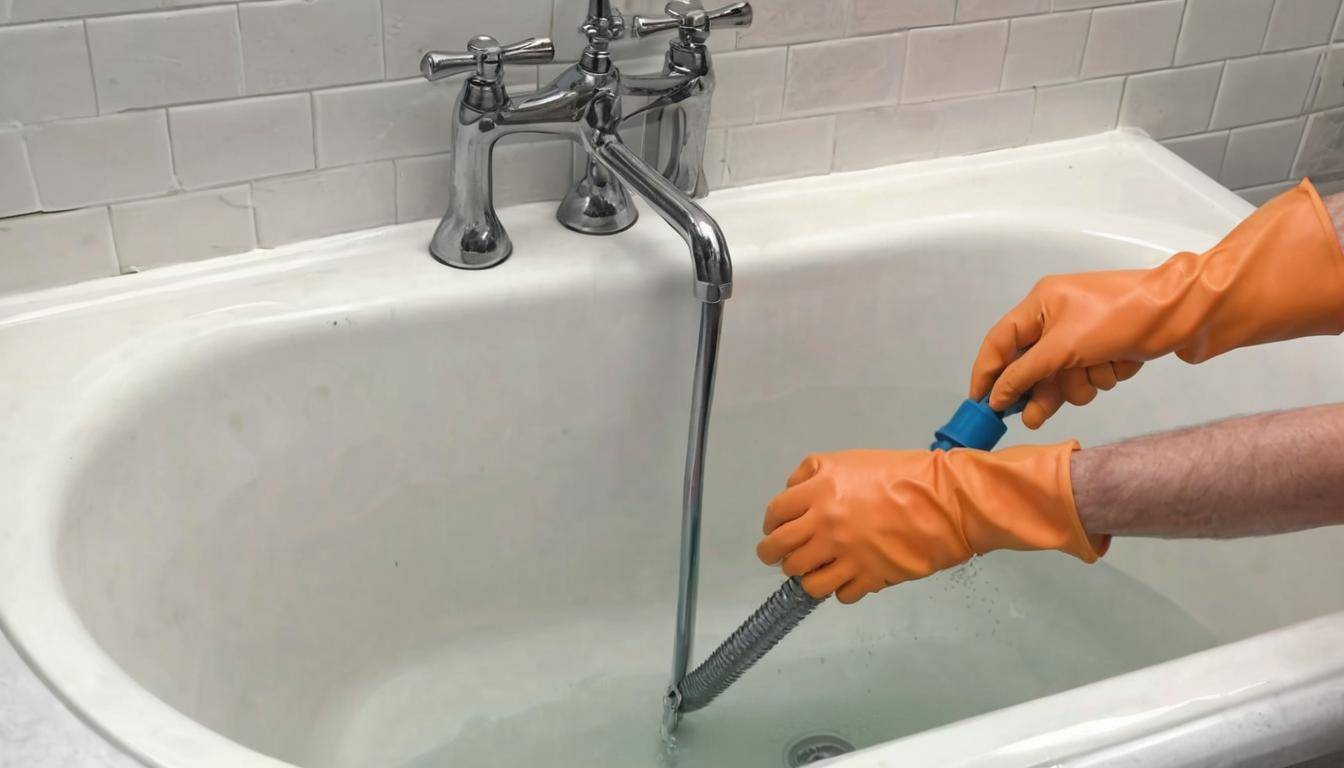
When other methods and tools fall short, a drain snake can save the day. It’s like a long, flexible metal rope with a spiral auger at one end that you can use to manually fish out stubborn clogs from your drain. While it may sound challenging, it’s actually a pretty straightforward process that anyone can handle with care and precision.
First off, you need to make sure you have the right tool for the job. You can purchase or rent a drain snake, also known as a plumber’s auger, from a hardware store. It’s always good to have one of these handy to address any clogs quickly and efficiently without having to rely on professional help.
| Step I – Obtain a Drain Snake | It’s important to choose the right kind of snake. They come in various lengths, so you’ll want to get one that’s long enough to reach the clog but not so long that it might get stuck. The staff at the hardware store can usually advise you on which one is best for your needs. |
Once you’re ready with your drain snake, it’s time to tackle the clog head-on. The first step involves carefully inserting the snake into the drain until you feel resistance from the clog. This is where things start getting interesting. You need to be slow but firm and gently nudge the snake down, feeling your way through the blockage, and making sure not to push too hard.
| Step II – Insert the Snake | If it doesn’t go easily don’t try to force it, as this may lead to more severe damage within your plumbing system. Instead, gently rotate and wiggle it back and forth until you feel it begin to move through the clog. |
Patience is key during this process. Often clogs are composed of things like hair and sediment build-up, so it can take some persistence to fully clear them out.
Rotating the handle clockwise with steady pressure by hand will engage the auger—essentially a coiled flexible shaft on a spindle—to latch onto, seize, and break up debris in your drainpipe. Keep an eye out for signs of progress; if you start feeling less resistance or hear different sounds while operating the snake, chances are it’s doing its job.
| Step III – Rotate the Handle | Pressing too hard might end up damaging inside pipes, so be vigilant during operation – ensure a fine balance between applying just enough pressure without risking any harm. |
Once you feel confident that you’ve broken up the blockage effectively, slowly retract the snake by unwinding it out of your pipes while keeping hold of stubborn debris that might otherwise slide back into place. Sometimes using a backward-and-forward motion may help dislodge particles even further.
| Step IV – Remove the Snake | Remember, the goal is to carefully pull out all fragments or sediments causing the problem without creating damage or lodging them deeper within your plumbing lines. |
After removing as much debris as possible with the snake alone—run hot water deliberately through your drain for several minutes. This will help flush away any remaining substances and prove that you’re back in business with free-flowing pipes.
| Step V – Flush the Drain | Watching and hearing as water flows freely down your pipes is an excellent way to confirm that you’ve successfully addressed that pesky clog! |
With this new technique in your plumbing arsenal, you’re better prepared than ever before to tackle stubborn bathtub clogs head-on!
Chemical Solutions for Clearing Clogs
Did you know there are specific products designed to dissolve stubborn clogs gently? They’re like tiny superheroes fighting off the villains in your drain. But before you rush to the store to grab one, let’s talk about choosing the right product and how to use it safely.
When it comes to selecting a chemical drain cleaner, opt for one explicitly formulated for bathtubs. These cleaners are formulated to break down soap scum, hair, and other organic material responsible for bathtub clogs. Look for labels that say “safe for pipes” or “bathtub-safe”—these are typically milder and less likely to cause damage.
It’s critical to respect the instructions provided by the manufacturer. Yes, it may seem like common sense, but failing to follow these guidelines is asking for trouble! Disregarding instructions can lead to skin irritation or even more severe health hazards if the product isn’t handled correctly.
Once you get your hands on the product, avoid any mishaps by pouring it directly into the drain. And don’t forget: Be mindful of splashes! Protect your skin and eyes throughout this process because your safety is as important as fixing that slow drain.
Now comes the waiting game. Let the chemical solution do its job inside the drain. This is when patience really becomes a virtue! After the recommended duration has passed, flush the drain with hot water for several minutes. This final step removes both the chemical cleaner and hopefully the clog along with it.
Remember, chemical solutions should be used as a first resort in cases where natural methods—like using a drain snake—have failed. Sometimes, persistent clogs require further inspection or alternative methods, so don’t lose hope if your drain is still not cooperating after using a chemical cleaner.
Understanding how chemical solutions work not only equips you with an additional tool for dealing with stubborn clogs but also emphasizes the importance of using them responsibly and safely.
Preventive Maintenance Tips
Imagine preparing for a relaxing bath only to find yourself wading through water that’s not draining properly. It’s an inconvenience nobody wants. Preventing clogs and slow drainage can save you from such hassles and expensive repairs. Let’s explore some simple yet effective preventive measures.
Step I – Use a Drain Cover
Installing a drain cover or strainer is like setting up the first line of defense. It traps hair and large particles before they even enter the pipe system and cause a clog. It’s a small investment that could potentially save you from a big headache down the road. You can find these at most hardware or home improvement stores, and they’re easy to install.
Step II – Regular Cleaning
Think of it as car maintenance—keeping the inside clean helps it run smoother. The same applies to your drain cover. Every couple of weeks, remove the drain cover and clean out any trapped hair and debris. This small effort goes a long way in preventing slow drainage and nasty clogs.
Step III – Monthly Flush
Another effective measure is performing monthly flushes with a homemade solution: baking soda and vinegar followed by hot water. This trifecta works wonders in breaking down minor buildups and maintaining clear drains. Rustle up some baking soda, vinegar, and hot water once a month for a happy, healthy bathtub drain.
Step IV – Avoid Greasy Products
Like any other pipe in your house, over time grease buildup spells trouble. Limiting the use of greasy, oil-based products in the bathtub can significantly reduce the likelihood of slow-draining water. If you must use them for some reason, be sure to thoroughly rinse the tub afterward to prevent residue from building up within your pipes.
Step V – Professional Inspection
Once a year, consider calling in professional plumbers for an inspection. Even if everything seems fine on the surface, professionals have the expertise to detect potential issues before they become major problems. Having reliable experts, like those at My Calgary Plumber, examine your plumbing system can save you from headaches and costly repairs in the long run.
By incorporating these preventive maintenance tips into your routine, you’re investing in the longevity of your plumbing system and reducing the chances of dealing with frustrating clogs or slow-draining bathtubs. Remember, an ounce of prevention is worth a pound of cure!


