How Hydro Jetting Can Resolve Sudden Sewer Backups Fast
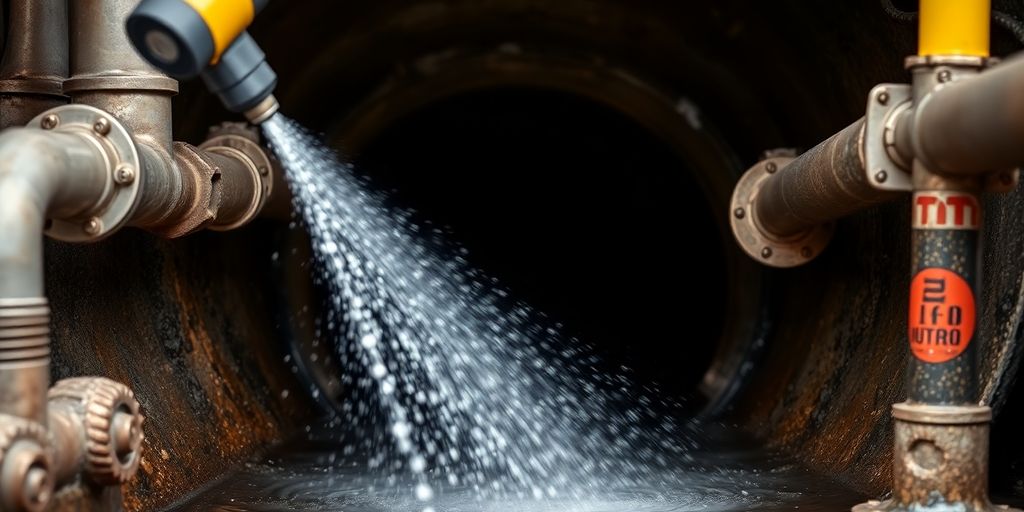
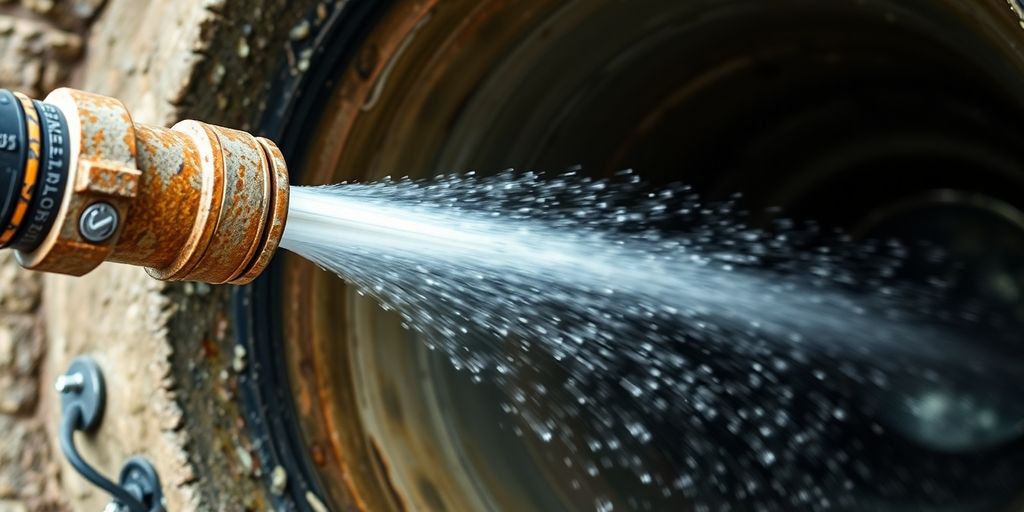
How Hydro Jetting Can Resolve Sudden Sewer Backups Fast If you’ve ever dealt with a sudden sewer backup, you know how frustrating and messy it

How Hydro Jetting Can Resolve Sudden Sewer Backups Fast If you’ve ever dealt with a sudden sewer backup, you know how frustrating and messy it

Can a Faulty Check Valve Cause a Sump Pump to Shut Down? Sump pumps are essential for keeping basements dry, especially during heavy rain. One
Can Hydro Jetting Damage Old Pipes in Calgary? What You Should Know If you have old pipes in Calgary, you might be wondering about the